
%20(2).avif)
%20transparent.avif)

To prompt the best images using Seedream follow Promptus tips.
Seedream 4.0 supports a wide range of creative tasks: text-to-image generation, image editing, reference-based generation, and multi-image workflows.
To get the best results, follow these guidelines:
General Best Practices
- Describe the scene clearly in natural language
Use complete sentences that cover subject + action + environment. If style matters, add details like color, lighting, or composition.- ✅ A girl in a lavish dress walking under a parasol along a tree-lined path, in the style of a Monet oil painting.
- ⚠️ Girl, umbrella, tree-lined street, oil painting texture.
- Specify the application scenario
Clearly state the purpose of the image (logo, poster, illustration, etc.).- ✅ Design a logo for a gaming company. The logo features a dog playing with a game controller. The company name “PITBULL” is written on it.
- ⚠️ An abstract image with a dog holding a controller, and the word PITBULL on it.
- Enhance stylistic rendering
Use precise style keywords (e.g., “watercolor,” “cyberpunk”) or upload a reference image for consistency.
- Improve text rendering accuracy
Place all required text inside double quotation marks.- ✅ Generate a poster with the title “Seedream 4.0”.
- ⚠️ Generate a poster titled Seedream 4.0.
- Define editing goals and fixed elements
Be explicit and avoid vague pronouns. State what changes to make and what should stay the same.- ✅ Dress the tallest panda in a pink Peking Opera costume and headgear, keeping its pose unchanged.
- ⚠️ Put that one in pink clothes.
Detailed Usage
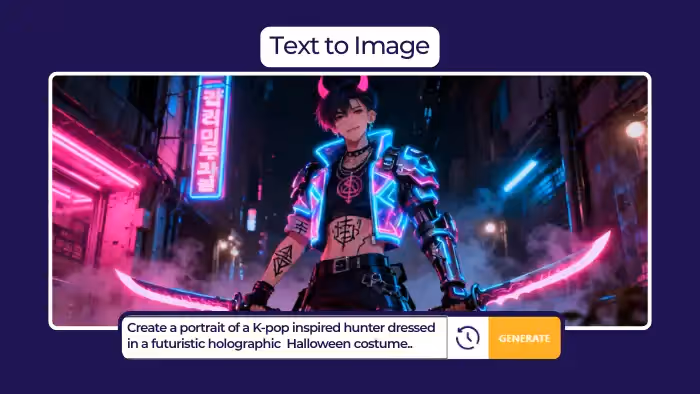
Text-to-Image
- Use clear, detailed natural language to describe the scene.
- Seedream 4.0 understands prompts better than version 3.0 — concise, precise wording works better than stacking complex adjectives.
- For technical or educational visuals (e.g., formulas, diagrams), use accurate terminology and specify layout and style.
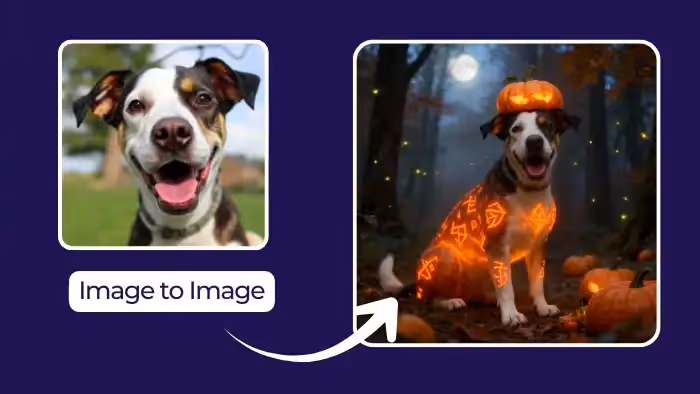
Image-to-Image
Seedream 4.0 allows combining text + image inputs for editing or reference-based tasks.
Image Editing
Supported operations: Add, Remove, Replace, Modify. Use simple, unambiguous instructions:
- Addition: Add matching silver earrings and a necklace to the girl.
- Deletion: Remove the girl’s hat.
- Replacement: Replace the largest bread man with a croissant man, keeping pose and expression unchanged.
- Modification: Turn the three robots into transparent crystal, colored red, yellow, and green from left to right. Make the green run, yellow walk, red stand.
👉 For complex edits, use visual indicators (arrows, boxes, doodles) to mark regions.
Reference-Based Generation
Upload reference images to preserve characters, styles, or products.
Clearly describe:
- Reference target: What to extract (e.g., character design, material, style).
- Generated scene: Desired new layout or setting.
Examples:
- Based on the character in the reference image, create an anime figure placed on a desk with a gift box behind it.
- Design 9 icons in a minimalist style, referencing the provided set.
👉 For sketches/wireframes:
- Provide a clean original sketch.
- State the main subject (e.g., “modern living room” or “UI interface”).
- Define what must remain consistent (e.g., layout, proportions).
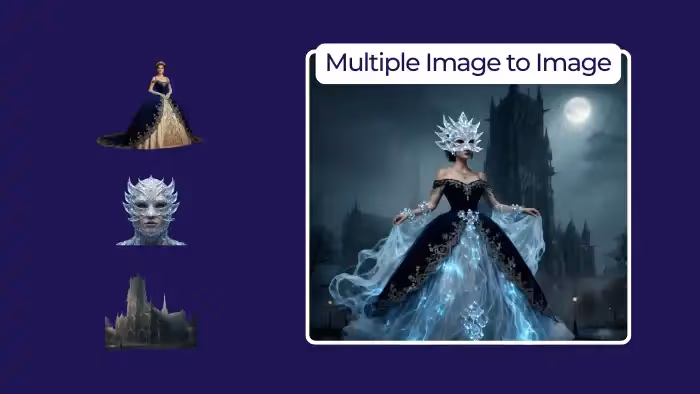
Multi-Image Input
Combine multiple images for replacement, composition, or style transfer.
- Replace subject in Image 1 with subject from Image 2.
- Dress the character in Image 1 with outfit from Image 2.
- Apply the color scheme of Image 2 to Image 1.
Multi-Image Output
Generate a cohesive series of images with consistent characters and styles — ideal for comics, storyboards, or brand assets.
Examples:
- Create a set of outdoor sports brand visuals (bags, hats, wristbands) using green as the main color.
- Generate seven wallpapers, one for each day of the week, with natural landscapes labeled Monday–Sunday.
- Produce four storyboard frames: astronauts repairing a spacecraft, asteroid attack, evasive action, and return to safety.


