
%20(2).avif)
%20transparent.avif)

Learn to configure GPU settings in Promptus with ComfyUI for faster AI rendering. Optimize NVIDIA performance, VRAM management, and PyTorch workflows with practical steps.
Last updated: Dec 2025 — Updated with Flux-specific VRAM requirements and marketplace hybrid workflow patterns.
Getting maximum speed from your GPU transforms how quickly you iterate on AI-generated content. Whether you run complex image workflows or process video batches, proper GPU configuration directly impacts your creative output.
This guide focuses on practical NVIDIA optimization, VRAM management, and PyTorch settings that reduce waiting time and increase throughput. The first time I mention it: Promptus with ComfyUI makes advanced node-based workflows accessible to studios and solo creators through a unified interface.
What you will learn
- How to set VRAM modes based on your GPU memory capacity
- Which launch flags improve rendering speed without causing crashes
- How to optimize batch size and resolution for your hardware
- When to use local GPU versus cloud marketplace rendering
- How to troubleshoot common performance bottlenecks with specific fixes
- How to verify PyTorch and xFormers are configured correctly
Prerequisites
Before starting, confirm you have:
- NVIDIA GPU with at least 8GB VRAM for standard workflows, 12GB or more for video
- Latest NVIDIA drivers installed, Game Ready or Studio depending on card type
- Promptus installed, either web interface or desktop app
- ComfyUI Manager available through Promptus for package management
- Basic familiarity with resolution and batch size concepts
- A test model loaded, such as Stable Diffusion 1.5 or Flux
Gotcha: If you recently updated Windows, check that the OS did not auto-install generic display drivers over your NVIDIA drivers. This happens frequently after major updates and causes silent performance drops.
Step-by-step GPU configuration walkthrough
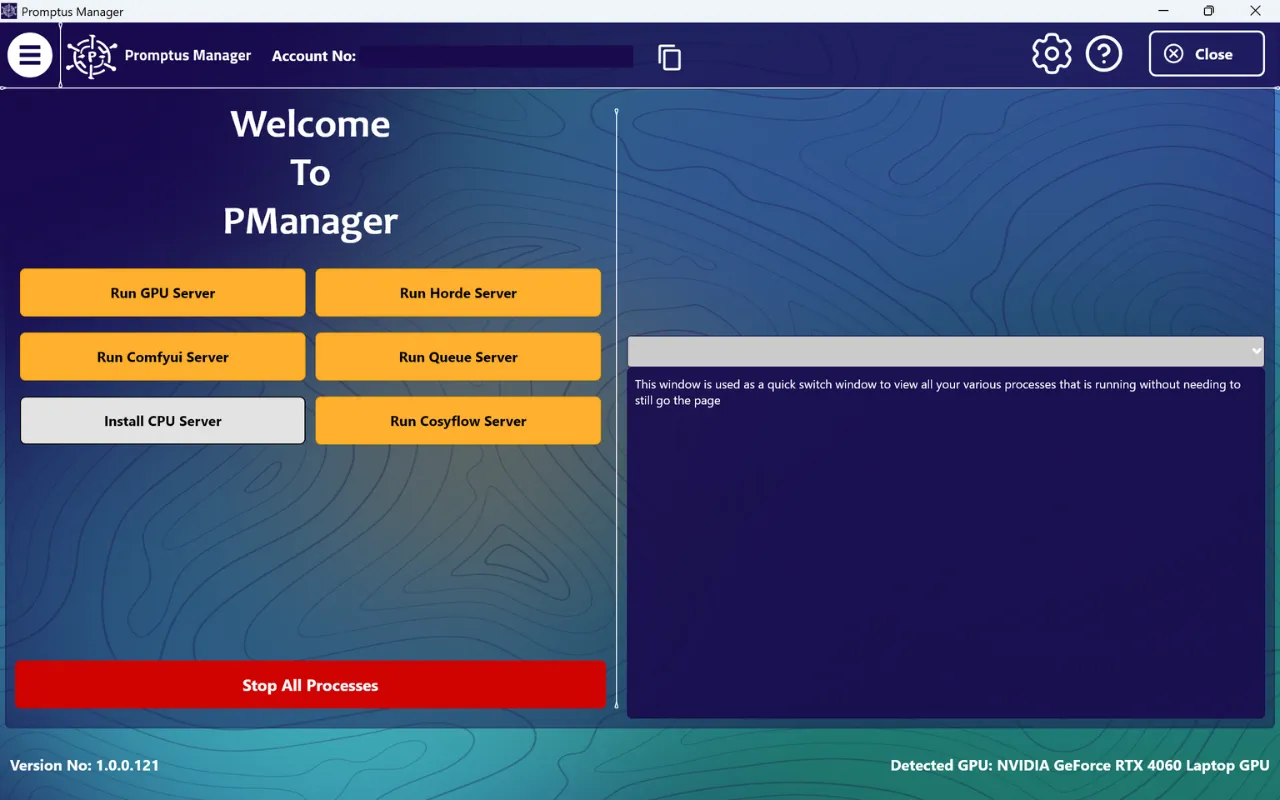
Step 1: Access GPU settings in Promptus
Open Promptus and navigate to the settings panel. In the web interface, click the gear icon in the upper right. In the desktop app, go to Preferences, then GPU Configuration. You will see options for VRAM mode, launch flags, and device selection.
Step 2: Choose your VRAM mode based on hardware
If your GPU has 12GB or more VRAM, select highvram mode. This preloads larger portions of model data into video memory, reducing swap operations during generation. You will see faster iteration, especially with Flux and multi-step video workflows.
If your GPU has 8GB or less, keep the default VRAM mode. Forcing highvram on limited memory causes the system to use shared RAM, which is significantly slower than GPU memory. I learned this the hard way on an RTX 3060 Ti with 8GB when a client project ground to a halt because I assumed more aggressive settings meant better performance.
For 10GB cards like the RTX 3080, test both modes. Run identical generation batches with default and highvram, timing each. Some models fit comfortably in highvram on 10GB, others overflow by a few hundred megabytes and perform worse.
Step 3: Enable gpu-only mode for dedicated systems
If ComfyUI is the primary application on your system, enable the gpu-only launch flag. This allocates maximum resources to the GPU and minimizes CPU overhead during generation. Check this box in the launch flags section.
Skip this setting if you run other intensive applications simultaneously, such as video editing software or game engines. The gpu-only flag can starve other applications of resources and cause system instability.
Step 4: Verify CUDA and PyTorch installation
Promptus bundles a tested PyTorch version, but verify it is active. Run a quick test generation and check the console output. You should see references to CUDA initialization and device detection. If you see CPU-only warnings, PyTorch is not using your GPU.
To fix CPU-only mode, navigate to ComfyUI Manager inside Promptus and reinstall the PyTorch package that matches your CUDA version. For most recent NVIDIA drivers, CUDA 11.8 or 12.1 packages work reliably.
Step 5: Install and verify xFormers
xFormers optimizes memory usage during attention mechanisms, directly reducing generation time for models like Stable Diffusion XL and Flux. Inside Promptus, open ComfyUI Manager and search for xFormers. Install the build that matches your CUDA version.
Run another test generation and check console output for memory-efficient attention messages. If xFormers is active, you will see this confirmation. If not, the installation failed or the version conflicts with your PyTorch build.
I once spent four hours debugging slow Flux generations before realizing xFormers was not active because I installed the wrong CUDA version. Always verify console output rather than assuming installation succeeded.
Step 6: Set baseline resolution and batch size
Start with 1024x1024 resolution and a batch size of 4 images. This combination fully utilizes modern GPUs without exceeding VRAM on 12GB cards. In your workflow, locate the empty latent image node and set these values.
Step 7: Configure sampler settings for speed
Use 20 sampling steps as your baseline. Most models produce quality results at this count. Set CFG scale between 7 and 9 for balanced prompt adherence. These settings appear in the KSampler node in ComfyUI workflows.
Step 8: Run test batch and monitor utilization
Generate your test batch and open Task Manager on Windows or run nvidia-smi in a terminal on Linux. Watch GPU utilization during generation. You should see utilization above 90 percent. If utilization stays below 70 percent, increase batch size by 1 and retest.
If you encounter out-of-memory errors, reduce batch size by half or lower resolution to 896x896. VRAM limits are hard constraints, not suggestions.
Why this configuration works
This setup balances VRAM capacity against computation speed. By preloading model data with highvram mode, you eliminate the performance penalty of swapping data between system RAM and GPU memory. The gpu-only flag reduces CPU scheduling overhead, letting the GPU process attention operations without waiting for CPU coordination.
xFormers specifically accelerates the attention mechanism, which consumes the most memory and time in diffusion models. Standard PyTorch attention scales poorly with sequence length. xFormers uses tiled computation that processes attention in smaller chunks, reducing peak memory usage while maintaining mathematical equivalence.
Batch size directly controls GPU utilization. A batch size of 1 leaves most GPU cores idle because single images do not provide enough parallel work. Increasing batch size to 4 or 8 spreads computation across available CUDA cores, pushing utilization toward 100 percent. The tradeoff is longer total generation time, but per-image time decreases substantially.
Common mistakes and fixes
Symptom: GPU utilization stays at 40 percent during generation
Likely cause: Batch size is too small to saturate GPU cores
Fix: Increase batch size from 1 to 4, then 8 if VRAM allows. Retest and monitor utilization after each change.
Symptom: Out-of-memory error before generation starts
Likely cause: Model size exceeds available VRAM in highvram mode
Fix: Switch to default VRAM mode. If error persists, use a quantized GGUF version of the model, which reduces memory requirements with minimal quality loss.
Symptom: System crashes mid-generation
Likely cause: Insufficient power supply capacity or thermal throttling
Fix: Check GPU power draw with nvidia-smi. If power spikes near PSU limit, upgrade PSU or reduce overclock. Monitor temperature; if above 85 degrees Celsius, improve case airflow.
Symptom: Black or corrupted images in output
Likely cause: Unstable GPU overclock or faulty xFormers build
Fix: Reset GPU clocks to default in MSI Afterburner or equivalent. Regenerate test batch. If corruption persists, uninstall and reinstall xFormers through ComfyUI Manager.
Symptom: Generation speed degrades over time
Likely cause: Thermal paste degradation or driver conflict
Fix: Check GPU temperature trends over multiple runs. If temperature climbs above 80 degrees and stays there, replace thermal paste. Update or roll back NVIDIA drivers to most recent stable version.
Symptom: Console shows CPU-only warnings despite NVIDIA GPU installed
Likely cause: PyTorch is using CPU backend instead of CUDA
Fix: Open ComfyUI Manager and reinstall PyTorch with CUDA support. Verify your CUDA version matches the PyTorch build. Restart Promptus after reinstallation.
Symptom: Inconsistent generation times where some batches are fast and others slow
Likely cause: Background processes competing for GPU resources or thermal throttling
Fix: Close unnecessary applications that use GPU, such as browsers with hardware acceleration enabled. Monitor temperature throughout long runs; add case fans if temperature spikes cause throttling.
Advanced variations and techniques
Variation 1: Aggressive batch size scaling for production throughput
For high-end GPUs like RTX 4090 with 24GB VRAM, push batch size to 16 or even 32 for standard 1024x1024 generations. This dramatically improves throughput for large projects. Total generation time increases, but per-image time drops by 60 percent or more compared to batch size of 4.
Use this approach when you have finalized your prompt and settings and need to generate hundreds of variations. Not suitable for iterative creative work where you test different prompts frequently.
Variation 2: Undervolting for sustained performance
Use MSI Afterburner or similar tools to lower your GPU voltage curve by 50 to 100 millivolts. Test stability with a generation batch after each adjustment. Undervolting reduces power consumption and heat, allowing higher sustained clock speeds without thermal throttling.
I run my RTX 4080 at 900mV instead of the stock 1000mV. Power draw dropped from 320W to 280W, temperature stayed 8 degrees cooler, and clock speeds held steady during hour-long batch runs instead of bouncing between boost and base clocks.
Variation 3: Hybrid local and cloud workflow optimization
Prototype workflows locally on your GPU using small batch sizes and lower step counts. Once you finalize settings, package the workflow and send it to a marketplace GPU with higher VRAM for final production batches at maximum quality settings.
This approach maximizes iteration speed locally while keeping cloud compute costs low. You pay only for the final render time, not for the dozens of test generations during creative exploration.
Local versus cloud execution decision guide
Privacy: Local keeps all data on your hardware. Cloud requires uploading prompts and images to remote servers.
Cost: Local has zero marginal cost after hardware investment. Cloud charges per compute hour.
Speed: Local responds instantly. Cloud involves upload time and queue waits during peak hours.
Reliability: Local depends on your hardware and power supply. Cloud depends on network stability and provider uptime.
Setup effort: Local requires driver installation and configuration. Cloud requires account setup and workflow packaging.
Use local GPU when you need immediate feedback during creative iteration and when you own hardware with sufficient VRAM for your target models. Use cloud marketplace when you need VRAM beyond your local capacity, when processing large batches overnight, or when your local GPU is occupied with other work.
Quick comparison:
8GB local GPU: Suitable for SD 1.5 and SDXL at standard resolutions, batch size 2 to 4
12GB local GPU: Handles Flux and video workflows, batch size 4 to 8
24GB local GPU: Production-grade for all workflows, batch size 16 or more
Cloud 24GB GPU: Cost-effective for occasional heavy workloads, no hardware investment
Cloud 48GB GPU: Required for large video projects and experimental models with extreme VRAM needs
How to configure GPU settings in Promptus specifically
If you use Promptus, the platform simplifies GPU configuration through a unified settings interface. Access GPU settings through the Preferences panel in the desktop app or the Settings menu in the web version. The interface presents VRAM mode, launch flags, and device selection in one screen rather than requiring command-line configuration.
Select your VRAM mode from the dropdown menu. Enable gpu-only mode with a checkbox if applicable. Click Apply Settings, and Promptus restarts ComfyUI with the new configuration automatically. You do not need to manually edit launch scripts or configuration files.
For marketplace rendering, configure your workflow locally first, then click the Deploy to Marketplace button in the workflow panel. Select your target GPU tier based on VRAM needs, set batch size, and submit. Promptus handles file upload and remote execution, returning completed images or video to your local library.
This integration reduces configuration complexity compared to managing separate local and cloud setups. You use identical workflows across local and cloud execution, eliminating the need to maintain parallel configurations.
Conclusion
Maximizing GPU performance requires attention to VRAM mode selection, xFormers installation, and batch size optimization, but the payoff is substantially faster iteration and higher throughput. Configure your local GPU for daily creative work using the highvram mode on 12GB or larger cards and gpu-only flag on dedicated systems. Use cloud marketplace rendering for workloads that exceed your local VRAM capacity or when you need to process large batches without tying up your local hardware.
Start by implementing the step-by-step walkthrough with your current hardware, monitor utilization, and adjust batch size until you hit 90 percent or higher GPU usage during generation.


