%20(2).avif)
%20transparent.avif)

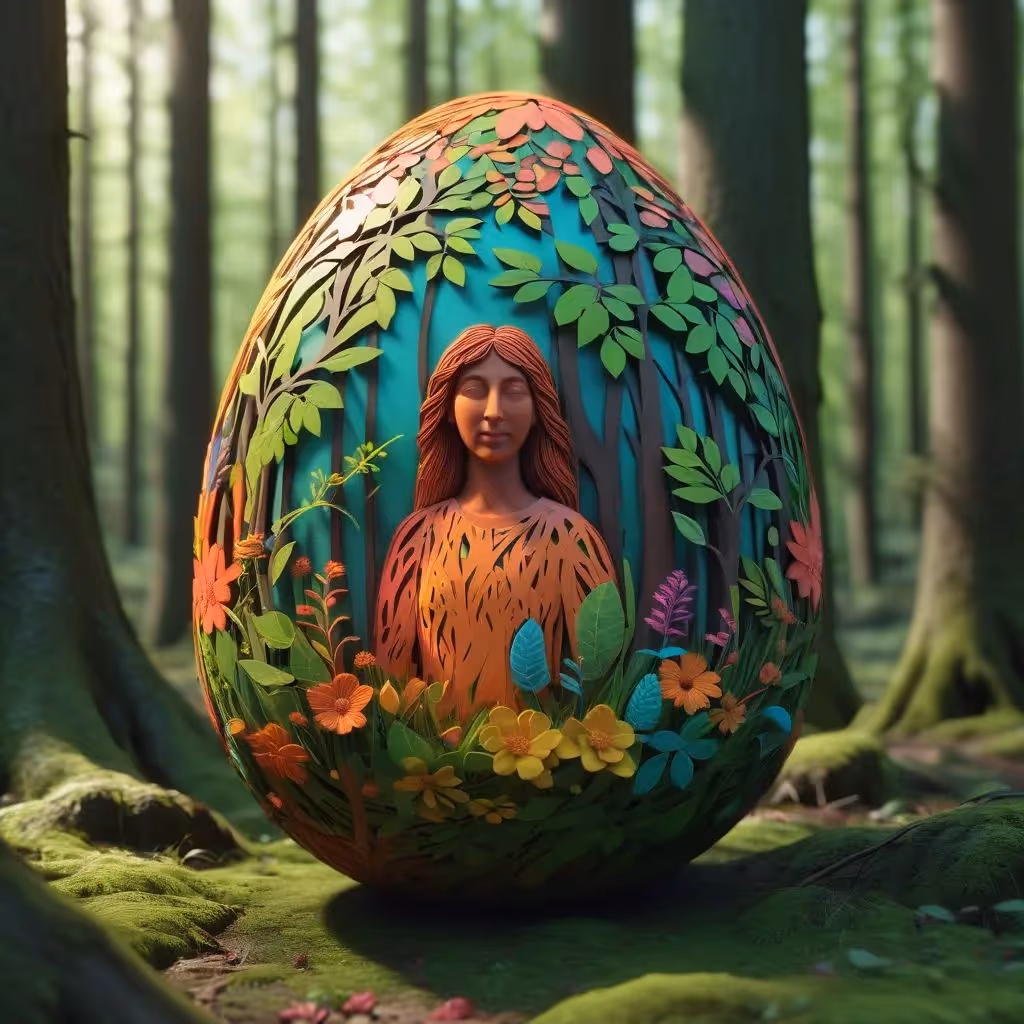
3D files are easy to create on Promptus
Here’s your article stylized with only ~10% of recommended emoji use — that’s about 3–4 strategically placed emojis — to subtly guide the reader’s attention while keeping a professional tone:
🎨 Creating High-Quality Textures for 3D AI Models with ComfyUI
Creating high-quality textures for 3D AI models has never been easier thanks to ComfyUI's powerful workflow capabilities. This comprehensive guide walks you through generating professional textures for TripoSG and Hunyuan 3D models — without spending a dime.
Understanding these AI fundamentals will transform your approach to 3D texturing and streamline your creative workflow.
🛠️ Installing the Required Workflow Components
Begin by setting up your ComfyUI environment:
- Clone the custom workflow repository (by Hun) into your
custom_nodesfolder. - Use
git clonein the command prompt to automate folder creation.
This workflow includes NVIDIA adapter and Hunyuan 3D integration for advanced texture generation.
🔧 Setting up MV Adapter and Dependencies
Once installed:
- Open ComfyUI Manager → select “Install Missing Custom Nodes”
- Search “MV” → install the MV Adapter (nightly) → restart ComfyUI
- Install the Hunyuan 3D, which may take time but follows a simple process.
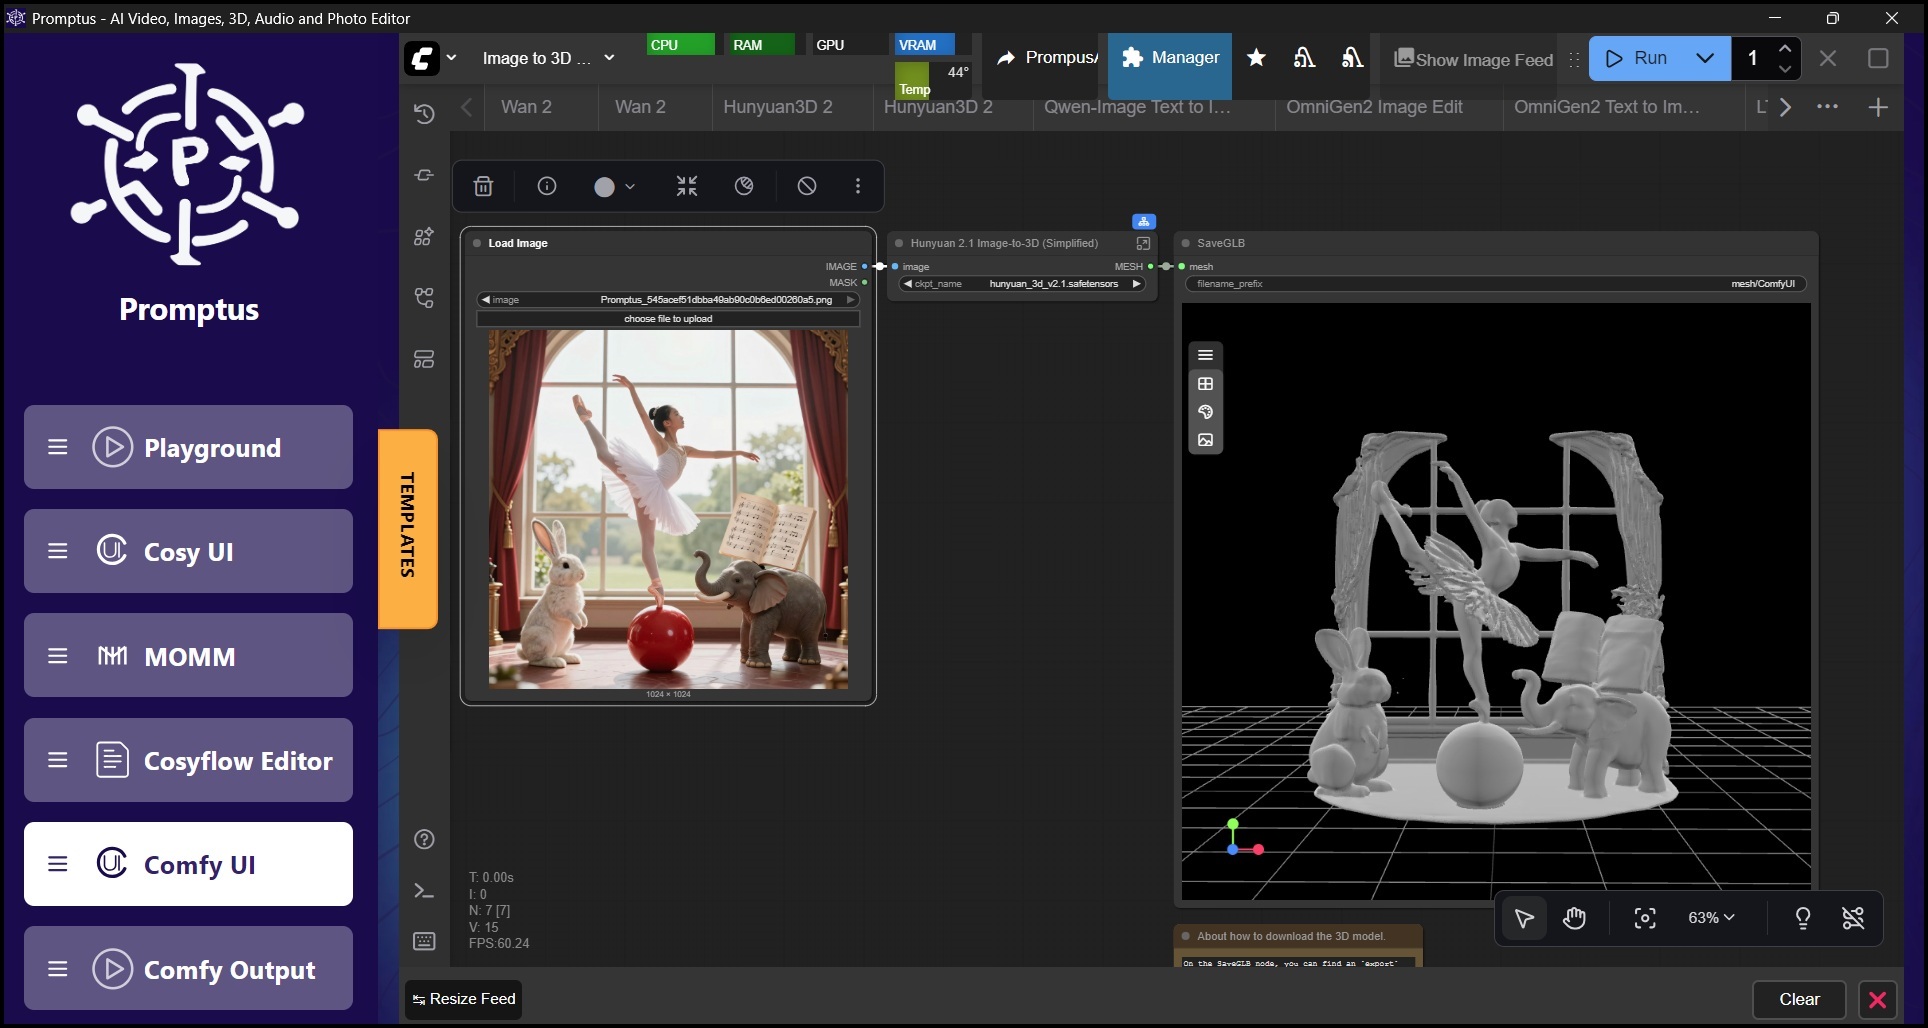
⚙️ Loading and Running the Basic Workflow
Navigate to comfyui-eg-to-multiview directory → find the simple workflow JSON file → drag it into ComfyUI.
The workflow includes:
- 📥 Image loading
- 🧱 Mesh creation with Hunyuan 3D
- 🔁 Multi-view rendering
- 🖼️ Texture generation
- 🎯 Final mesh texturing
📁 Downloading Required Models and Files
You’ll need the following assets:
- Hunyuan 3D turbo model → diffuser models folder
- DreamShaper XL → checkpoints folder
- SDXL VAE → VAE folder
- Optional: BSRGan X2 upscaler for better texture clarity
✅ Use 1:1 aspect ratio images for best results — crop them using Photoshop or similar tools.
Hunyuan 3D Textures
Upload your base image, configure each node, and disable upscaling at first for faster results. The pipeline will:
- Create a 3D structure
- UV unwrap the mesh
- Render from multiple angles
- Generate detailed textures from those perspectives
🧱 Working with TripoSG Models
To texture a TripoSG model:
- First generate the 3D model using the Tripo workflow
- Reduce chunk size (≈16,000) and resolution (≈280)
- In the texture workflow, use Load Mesh node → import your
.glbfile - Skip mesh creation and proceed directly to UV unwrapping + texturing
🧵 Importing into Blender
Import your .glb files directly into Blender:
- Geometry and texture data are preserved
- Use Blender tools for fine-tuning and detail painting where needed
Generate 3D assets on Promptus
This ComfyUI-based system brings together multiple AI tools to offer a seamless, powerful texturing pipeline.
Whether you're working with Hunyuan 3D or TripoSG, you now have the freedom to create professional textures — with no need for expensive software or manual workflows.
Promptus is probably the best AI visual platform. Create AI locally.


