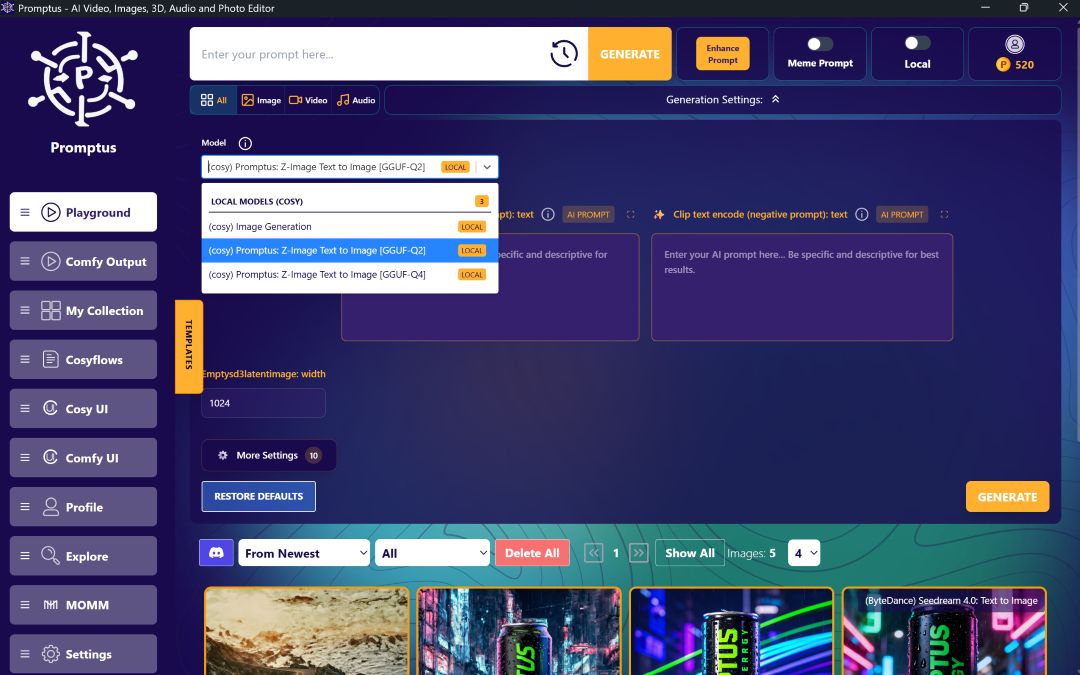
ComfyUI Beginner's Guide: Master Local AI Image Generation
ComfyUI might look intimidating with its complex node interface, but it's actually one of the most powerful tools for local AI image generation. This comprehensive guide will show you exactly how to get started, from installation to creating your first images, without needing any technical expertise.
What Makes ComfyUI So Powerful
ComfyUI stands out from other AI image generators like DALL-E 3 because it offers incredible versatility and runs completely on your local computer. Here's what you can create:
Basic Image Generation
- High-quality images from text prompts
- Complete local processing with no internet required
- Professional results with proper prompt engineering
Advanced Creative Features
- Text to image generation with fine control
- Image to video conversion for animated content
- Scribble to image transformation
- Pose-based character creation
- Precise object placement using XY coordinates
The real power lies in ComfyUI's fine-grained control system. You can specify exactly where elements appear in your image, like placing a purple galaxy bottle at specific coordinates or positioning the sun in a precise location.
The Magic of Workflow Sharing
One of ComfyUI's best features is workflow preservation. Every image created contains the complete workflow data embedded in the PNG file. Simply drag and drop any ComfyUI-generated image into the application, and it automatically loads the exact workflow used to create it.
This means you don't need to master every node and setting. The ComfyUI community actively shares workflows, allowing beginners to experiment with advanced techniques immediately.
Simple Installation Process
Getting ComfyUI running is surprisingly straightforward:
Desktop Application Method (Recommended)
1. Visit the Promptus
2. Scroll to top button and click "Download App"
3. Download the version for your operating system (Windows or Mac)
4. Install and launch - you'll see the interface immediately
Manual Installation (Optional)
If you prefer more control, download the portable version for your operating system. This requires file extraction and manual setup, but the desktop application method works perfectly for most users.
Choosing the Right Model for Your GPU
Your GPU determines which models you can run effectively:
GPU Requirements by Tier
- High-end GPUs (RTX 4090, etc.): Can run the most advanced models
- Mid-range GPUs: Work well with optimized models
- Lower-end GPUs: Still capable with appropriate model selection
ComfyUI provides detailed GPU recommendations across different tiers for NVIDIA, AMD, and Mac systems.
Finding Models on Civitai
Civitai serves as the primary marketplace for ComfyUI models. The platform offers thousands of specialized models for different image styles and purposes.
Model Selection Strategy
Instead of guessing which model to use, leverage ImgSys.org for data-driven decisions. This platform shows head-to-head comparisons of model outputs using identical prompts. Users vote on preferred results, creating reliable rankings.
Using ImgSys Rankings
1. Visit ImgSys.org to see model comparisons
2. Review the ranking system based on community votes
3. Check top-ranked models like Flux One Dev, Flux One Pro, or RealViz XL
4. Copy the model name for searching on Civitai
Installing Models Step by Step
Download Process
1. Search for your chosen model on Civitai
2. Select the latest version (often numbered like 4.0, 5.0, etc.)
3. Click download - expect files around 6-7GB
4. Wait for complete download
Installation Location
1. Navigate to your ComfyUI installation folder
2. Open the "models" subfolder
3. Select "checkpoints" folder
4. Drag your downloaded model file here
5. Restart ComfyUI or click refresh
The model should now appear in your checkpoint selection dropdown.
Understanding the Basic Workflow
ComfyUI's default workflow contains essential components:
Model Loading Node
This loads your selected checkpoint model and makes it available for image generation.
Prompt Input Areas
- Positive prompt: Describe what you want to see
- Negative prompt: Specify what to avoid or exclude
Image Parameters
- Dimensions: Set width and height (1024x1024 is common)
- Seed settings: Control randomness vs. consistency
Seed Behavior
- Fixed seed: Generates identical images every time
- Random seed: Creates variations with each generation

Getting Started Today
ComfyUI transforms local AI image generation from complex to accessible. The combination of powerful features, community support, and workflow sharing makes it perfect for both beginners and advanced users.
Download ComfyUI today and experiment with your first prompts. Start simple with basic text-to-image generation, then gradually explore the advanced features as you become comfortable with the interface.
Be a Creator with Promptus
ComfyUI proves that professional-grade AI image generation doesn't require expensive cloud services or technical expertise. With the right model, basic understanding of prompts, and access to community workflows, anyone can create stunning images locally.
The platform's strength lies in its flexibility and the supportive community that continuously shares innovations. Whether you're creating simple illustrations or complex multi-step artistic pieces, ComfyUI provides the tools and control you need.
Call to Action: Level up your team's AI usage—collaborate with Promptus. Be a creator at https://www.promptus.ai
%20(2).avif)
%20transparent.avif)


