Meilleur flux de travail pour les images de style anime
%20(2).avif)
%20transparent.avif)

Flux de travail étape par étape pour les images de style anime
La création d'illustrations captivantes de style anime nécessite un savant mélange d'art, de structure et de technologie. Que vous soyez un illustrateur numérique ou un passionné d'art intelligent, le bon flux de travail fait toute la différence entre une image plate et une image qui donne l'impression d'être vivante.
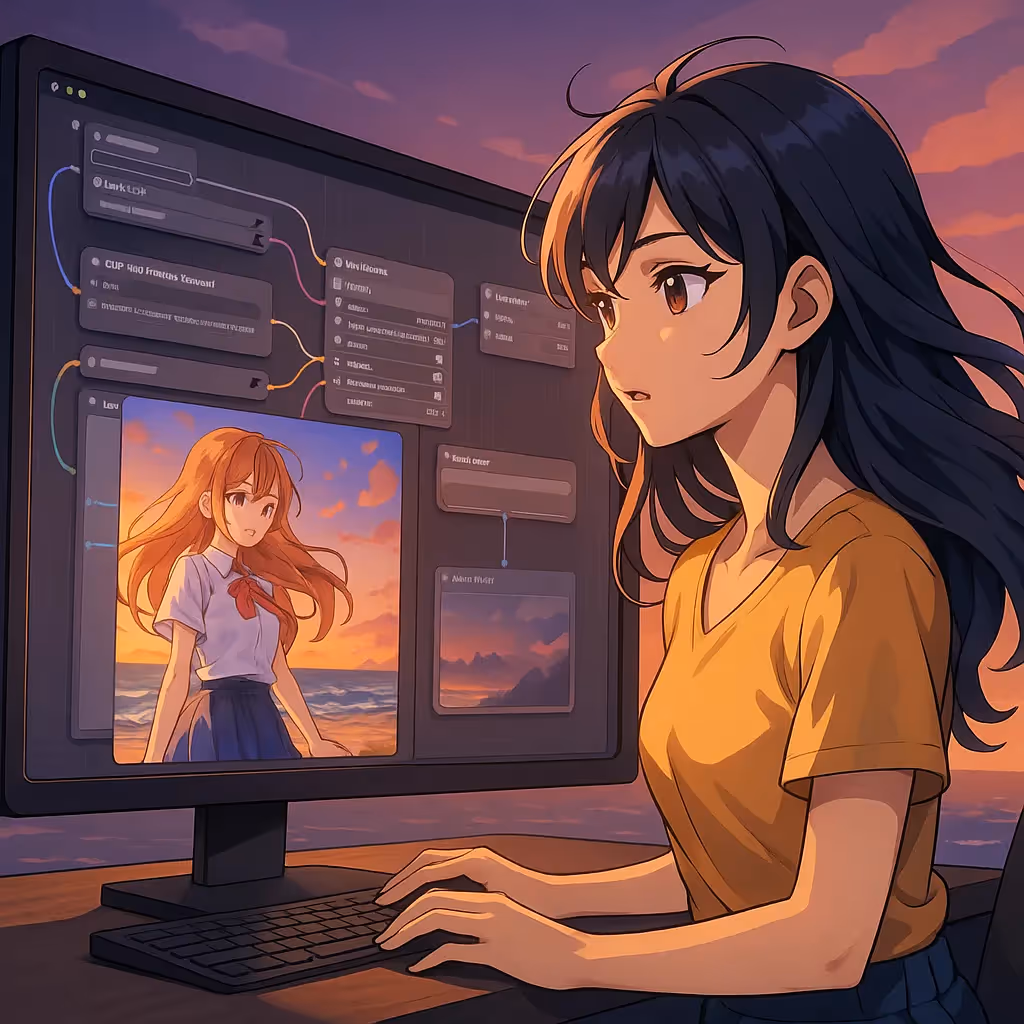
Dans ce flux de travail animé utilisant Diffusion stable des modèles comme Imagine XL et un flux de travail complet d'images de style anime, du concept au rendu final, et montrez comment Promptus et ses microsites dédiés peuvent améliorer votre processus de création.
🎯 Microsites et outils
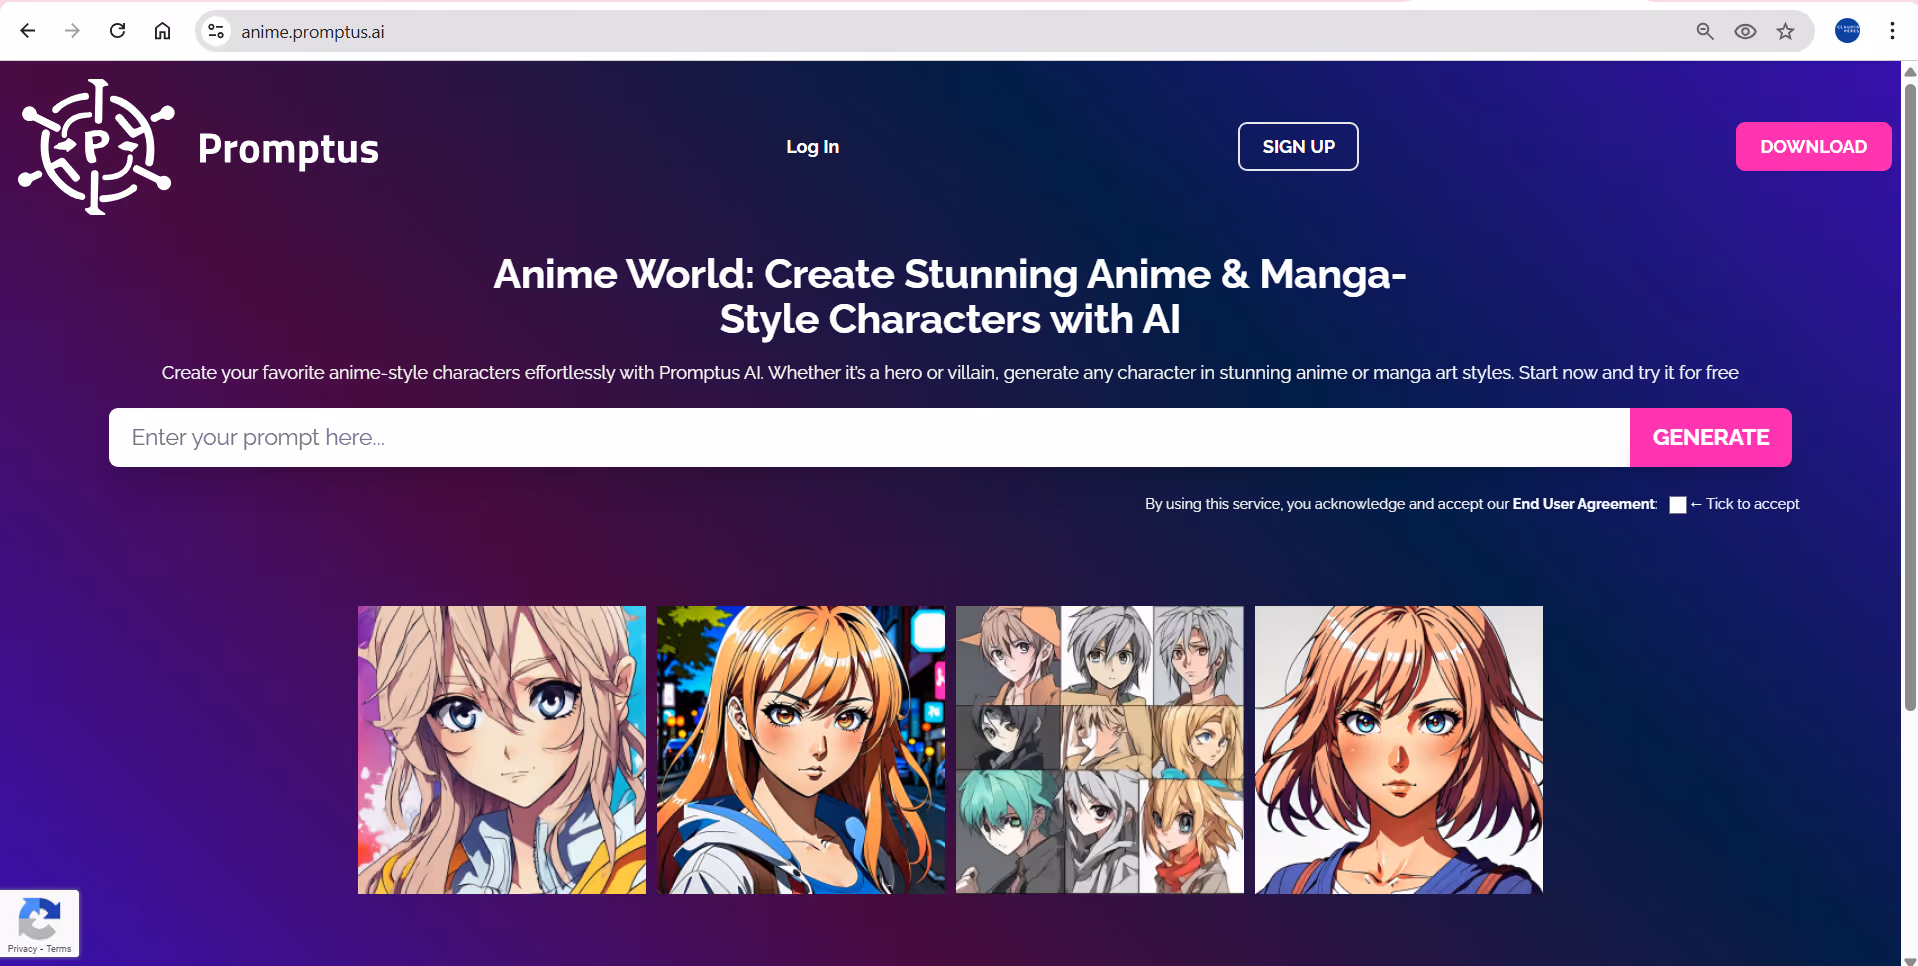
- Le microsite dédié à l'anime : anime.promptus.ai — Ceci est conçu pour générer des personnages de style anime/manga avec Promptus.
- Un microsite spécifique au modèle : animagine-xl.promptus.ai — Axé sur le modèle « Animagine XL » pour des sorties de haute qualité de style anime.
- Site de style anime classique : duchaiten.promptus.ai — Pour une esthétique « anime classique » nostalgique.
Ils vous permettent de choisir rapidement un style ou un modèle et de concentrer votre invite et votre flux de travail en conséquence.
✏️ Flux de travail : du concept à la sortie
1. Concept et planification
Commencez par définir votre personnage, votre scène, votre humeur et l'angle de caméra. Si vous visez un Esthétique de l'anime japonais, considérez des éléments tels que :
- De grands yeux expressifs, des lignes simples mais nettes.
- Couleurs plates avec de forts contrastes entre la lumière et les ombres.
- Composition influencée par l'anime japonais (par exemple, poses dynamiques, silhouette forte).
- Indices de style : regardez les anime classiques et modernes pour vous y référer.
Utilisez le site anime.promptus.ai pour générer rapidement des explorations en matière de conception de personnages. Entrez une invite telle que « fille d'anime, grands yeux, uniforme scolaire, fond printanier lumineux, ombrage cellulaire » et vous verrez ce que vous obtenez.
2. Sélection du modèle et du microsite
Choisissez votre base :
- Si vous voulez un style anime moderne en haute fidélité, utilisez Animagine XL via animagine-xl.promptus.ai.
- Si vous préférez les anime japonais nostalgiques des années 80/90 : utilisez le modèle DuchAiten Classic Anime via duchaiten.promptus.ai.
- Utilisez anime.promptus.ai pour générer des styles d'anime/manga plus généraux.
La sélection précoce du bon modèle/style signifie que votre flux de travail en aval présente moins d'incohérences.
3. Étiquettes de création et de style rapides
Les bonnes instructions sont importantes :
- Commencez par quelque chose comme : « (chef-d'œuvre, meilleure qualité), fille d'anime, cheveux roses courts, uniforme scolaire, fond de cerisiers en fleurs, ombrage cellulaire, style anime japonais, 4 K ».
- Ajoutez des modificateurs de style : « dessin au trait net, contours audacieux, couleurs éclatantes, éclairage spectaculaire, éclairage à 3 points ».
- Utilisez des instructions négatives pour éviter les problèmes : « flou, membres supplémentaires, mauvaise anatomie, sursaturation ».
En référence à une esthétique japonaise, vous pouvez inclure des tags tels que « style anime shōjo », « Anime1880s cel shading », « Japan cityscape at dusk », « Kawaii expression ».
Consultez également des guides sur la façon de créer des invites de style anime (par exemple, pour Stable Diffusion) qui présentent des techniques telles que l'utilisation de balises de style Danbooru.
4. Génération initiale et itération
Utilisez le microsite/modèle sélectionné pour générer les premiers résultats.
- Générez de multiples variations (tuples d'instructions) pour explorer les poses, les arrière-plans et l'éclairage.
- Passez en revue les résultats : vérifiez l'anatomie, l'expression du visage, la clarté des lignes, la palette de couleurs.
- Si vous en trouvez une qui est prometteuse, notez ses graines et ses instructions.
- Utilisez les fonctionnalités internes de flux de travail/de gestion des versions de Promptus pour ne pas perdre de vue ce qui a fonctionné.
5. Raffinement et détails
Une fois que vous avez une bonne base, affinez :
- Utilisez une résolution ascendante plus élevée si nécessaire (de nombreux outils prennent en charge 2×, 4×).
- Nettoyez les artefacts manuellement si nécessaire (dans un outil tel que CLIP STUDIO PAINT, Photoshop ou autre).
- Améliorez le dessin au trait, ajoutez des reflets (cheveux, yeux), ajustez la couleur et l'éclairage.
- Pour un style japonais, vous pouvez mettre l'accent sur l'éclat des yeux, la brillance des cheveux, l'éclairage des bords et un arrière-plan plus simple pour que le personnage se démarque.
6. Considérations relatives au contexte et à la composition
Pour le style anime japonais (en particulier l'art centré sur les personnages) :
- Arrière-plans souvent plus simples, par exemple ciel dégradé, éclairage tamisé, bokeh clair.
- Mais pour les scènes dynamiques (bataille, paysage urbain), vous pouvez ajouter de la profondeur : éléments de premier plan, flou de mouvement, angles de caméra cinématiques.
- Gardez la silhouette du personnage claire et le contraste des couleurs bien équilibré.
7. Sortie finale et préparation
- Exportez à la résolution souhaitée (pour le Web, l'impression, les réseaux sociaux).
- Ajustez les profils de couleur (sRGB pour le Web, CMJN pour l'impression).
- Utilisez une couche de couleur finale ou une couche de texture si nécessaire pour créer une atmosphère agréable.
- Enregistrez toutes vos versions : invite de base, graine, modèle et modifications éventuelles. Promptus prend en charge la sauvegarde et la réutilisation des flux de travail.
✅ Pourquoi ce flux de travail fonctionne
- Vous commencez par effacer décisions de style (Repères d'anime japonais, choix du modèle via des microsites).
- Vous utilisez incitation itérative et la gestion des versions (via Promptus) pour ne pas perdre de bons résultats.
- Vous pouvez affiner et peaufiner manuellement si nécessaire, en combinant la vitesse de l'IA avec le contrôle artistique.
- Vous maintenez un esthétique cohérente en choisissant très tôt le bon modèle et les bonnes étiquettes de style.


