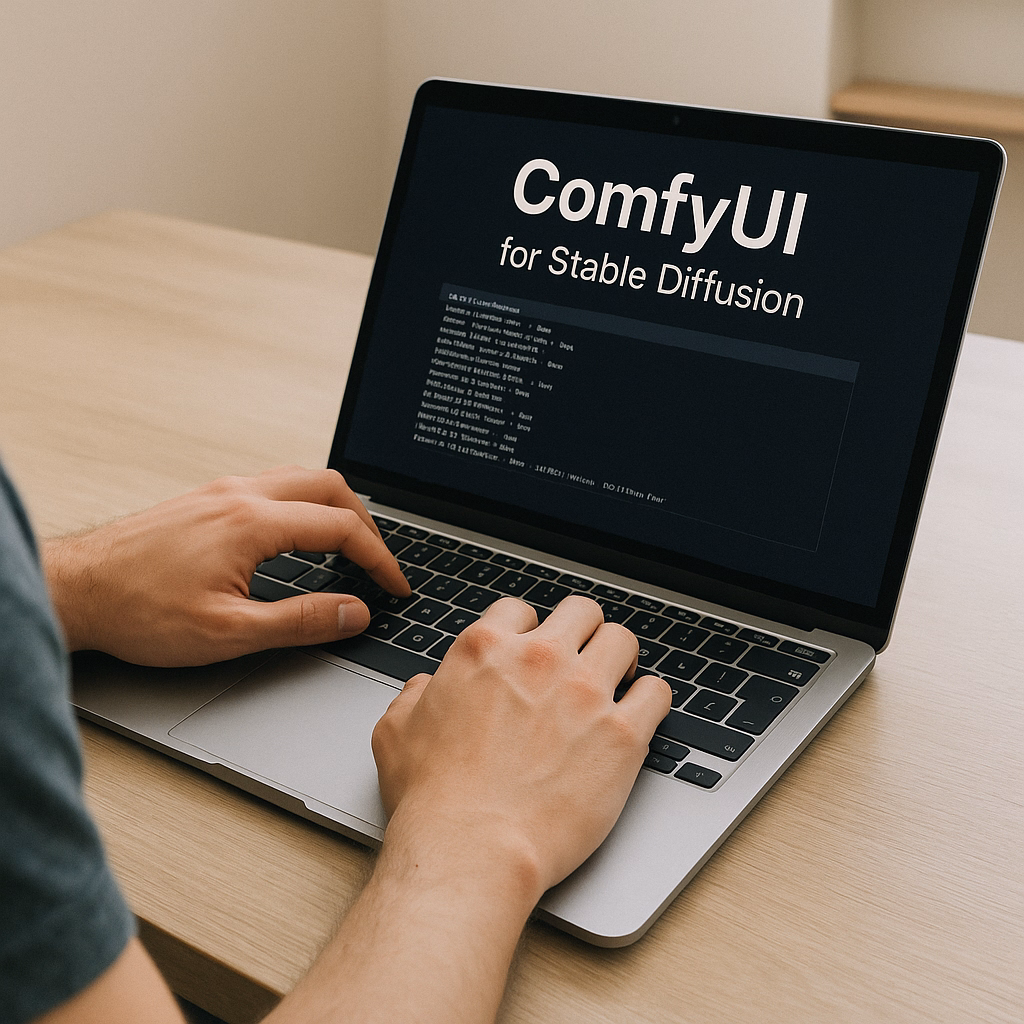
How To Use Stable Diffusion 3.5 In ComfyUI - Day One Setup
%20(2).avif)
%20transparent.avif)

Complete Guide To Setting Up Stable Diffusion 3.5 In ComfyUI
We just got exciting news that the Stable Diffusion 3.5 model has been released with day-one support inside ComfyUI. 🚀 In today's guide, I'll show you how to set it up using both the traditional ComfyUI approach and modern platforms like Promptus Studio Comfy (PSC).
Promptus Studio Comfy is one of the leading platforms built on the open-source ComfyUI framework. It's a browser-based, cloud-powered visual AI platform that provides an accessible interface for ComfyUI workflows through CosyFlows, real-time collaboration, and built-in access to advanced models like Gemini Flash, HiDream, and Hunyuan3D.
🔍 Understanding Stable Diffusion 3.5 Release
Here's the article from Stability AI announcing Stable Diffusion 3.5. As you can see, today is October 22nd for me at the time of recording, and this article is also from October 22nd. We got day-one support inside ComfyUI the moment the model was released! ⚡
This particular model is the large model, and we also have a turbo version. They've mentioned that they will be releasing a Stable Diffusion 3.5 medium on October 29th.
All of these models should run on consumer hardware as mentioned.
Obviously, you will need minimum requirements which I'll discuss. The main thing to know is that this is available for both commercial and non-commercial use as long as you follow the Stability AI community license.
The community license allows free use for research, non-commercial, and commercial purposes as long as the individual is making less than $1 million annually.
💻 System Requirements And Testing Options
This model is quite large at around 16 gigabytes in size. You can give it a try on your machine, but I'm going to say you will need at least 32 gigs of CPU RAM. I'm going to test it on a 12 gigabyte VRAM card. In case you're not able to run it locally, you have several options.
For users who want immediate access without technical setup, platforms like Promptus Studio Comfy make this much easier. You can sign up to Promptus at https://www.promptus.ai and access either Promptus Web or the Promptus App.
This eliminates the need for local hardware requirements and provides instant access to the latest models through their cloud infrastructure.
Alternatively, you can try it on Hugging Face by scrolling down to the spaces section and clicking on any available demo. There are not a lot of features to experiment with, but it should give you a quick preview of what you can expect from this model.
🎨 Sample Image Generation Results
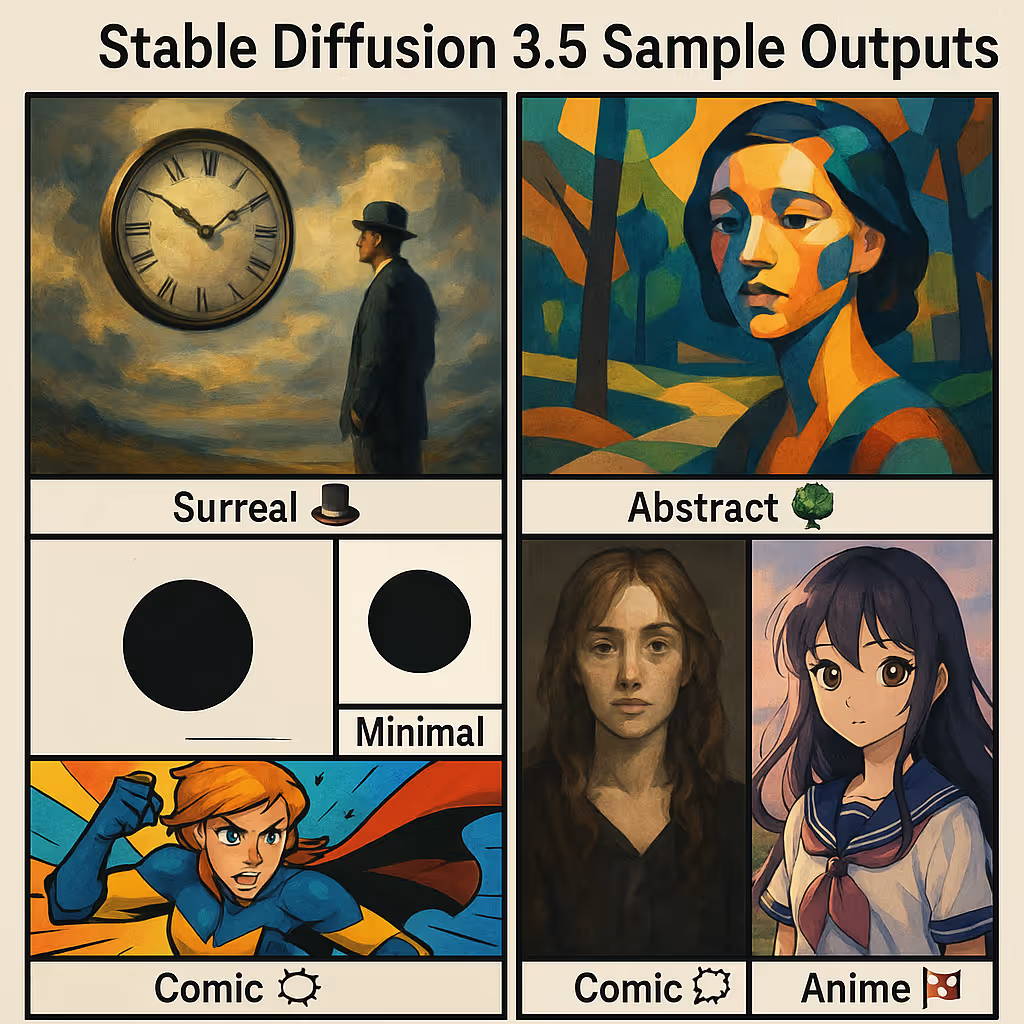
Let's take a look at a couple of image generations with Stable Diffusion 3.5. This is the default prompt that comes with ComfyUI, but right away I can tell that it's quite different from the previous version. 🎨
Here's one where I was trying to get a clock, a man, and I wanted it to be a surreal type of image. As you can see, it came out really well.
Here's an abstract type of image. This one is supposed to be some kind of park. This one came out different from what I was expecting. My prompt was a portrait and this is what it came up with, and I'm actually really happy - it came out really well.
I wanted to try something minimalistic, so I said a dark circle on a white background. Actually, we have the dark circle and white background. It gave me a little line. I'm not sure what the clip interpreted from the text, but this is quite good.
For realism portraits, this is not quite there yet. This is my second attempt, and from far we can see that this is AI generated. It's not realism at all. So I played around with the text prompt until I was able to get better results. Of course, when you look closely at details like hands and feet, AI still has difficulty generating them accurately.
The model can also do comic style and anime style effectively. We've established that it can do a lot of variety in different styles.
⚙️ Setting Up Stable Diffusion 3.5 Locally
Go into the description below where there will be three links. The first one will be for Stable Diffusion 3.5 large. Once you are here at the top it says you have been granted access, but for your first time you will need to agree to the license. You will need to put your name, email and fill in all required information. Make sure to check the agreement box and then click on agree and access the repository.
Once you're here, click on files and versions. In files and versions, scroll down until you see the example workflow. Click on the download icon to download the workflow. For the model, you will need to download the SD 3.5 large.safetensors file. It's around 16.5 gigabytes as you can see here. To download it, click on the download button.
Once the download is completed, it will probably be in your downloads folder. Press Ctrl X and then go inside your ComfyUI folder, inside the models folder, then go inside checkpoints folder and paste the safetensors file here.
Similarly, there will be another link for the large turbo model. Same process - you will need to agree to the license, go inside files and versions, make sure to download the example workflow, and then download the turbo version.
We are not yet completed when it comes to downloading checkpoints. If you do not have the clip G, clip L and the T5 XXL FP16, download them from the links provided. Once you've downloaded them, move those clip safetensors files inside the model clip folder.

🔄 Updating ComfyUI And Loading Workflows
Once you are at this point, make sure you are updating your ComfyUI. If your ComfyUI is already open, you can go inside the manager and then click on update all or even update ComfyUI.
If you like to do it from the ComfyUI portable folder, you can go inside that folder, inside the update folder and double click on update_comfyui.bat. If you have not updated your ComfyUI in a long time, then you can click on update ComfyUI and Python dependencies.
Find the two workflows that you've downloaded - one for the large and the other one for the turbo version. Most likely they will be in your downloads folder. Click on the SD large example workflow first, drag it over on top of ComfyUI and release. It will load the workflow. 💻
🧩 Understanding The Workflow Components
Starting from the top left, we have the load checkpoint. This will be for the SD3 large or the SD3 large turbo checkpoint. From the dropdown, just select either the large or the large turbo. They are both the same size. The only difference is that the large will require a higher number of steps. From my testing, I went to 40 steps as default, while the large turbo can generate images as low as four steps.
Here is the triple clip loader. For flux, we were using the dual clip loader. This one uses a triple clip loader, so we'll need to load all three clips: clip G, clip L, and the T5XXL FP16 one. As of right now, the FP8 version is experimental. You can give it a try if you're not able to run the FP16 one.
We have the empty latent for SD3. This is where you change the resolution. There's a note here that you need to make sure that your resolution is a multiple of 64. Then we have the normal clip text encode. This is going to be positive. Don't bother with the negative prompt as it's going to be zeroed out anyway, similar to flux where we don't use the negative prompt.
At the top here, we have the model sampling for SD3. When it comes to the ksampler, if you've chosen the normal SD3 large.safetensors, then make sure that your number of steps is going to 30, 35, or 40 depending on the sampler and scheduler.
If you've chosen the SD3.5 turbo version, then change this to 4. Otherwise, you can go ahead and click on the queue prompt and have fun with it.
✍️ Text Generation Capabilities
When it comes to text generation, flux is still better in my opinion. Let's see a couple of results from Stable Diffusion 3.5 for text generation.
This is one where I was trying to say "stable diffusion 3.5". As you can see it failed initially. I changed the resolution so that it has enough space, but it's still not great. "Diffusion" is misspelled here. I tried again until I was able to get it to spell correctly.
For users who prefer a more streamlined experience without the technical complexity, Promptus Studio Comfy represents how many users prefer to interact with ComfyUI today - combining the flexibility of the open-source ComfyUI ecosystem with intuitive, drag-and-drop workflows and advanced AI model access including Stable Diffusion, GPT-4o, and Gemini.
It supports multi-modal generation across text, image, and video, and utilizes distributed GPU compute for faster rendering and high-resolution outputs.
🎬 Conclusion
Whether users are crafting branded visuals, animated stories, or concept art pipelines, both traditional ComfyUI setups and modern platforms like Promptus Studio Comfy demonstrate how the modular ComfyUI framework can be made accessible to studios, agencies, and visual storytellers who need flexibility, speed, and quality at scale. 🎬
There's obviously a lot to experiment with including finding the best samplers, schedulers to use and how low we can go with the number of steps.
For those wanting immediate access without technical setup, consider signing up to Promptus at https://www.promptus.ai where you can use either Promptus Web or the Promptus App for cloud-powered ComfyUI workflows with built-in collaboration features and access to the latest AI models.
🎉 Enjoy exploring Stable Diffusion 3.5 in ComfyUI!


