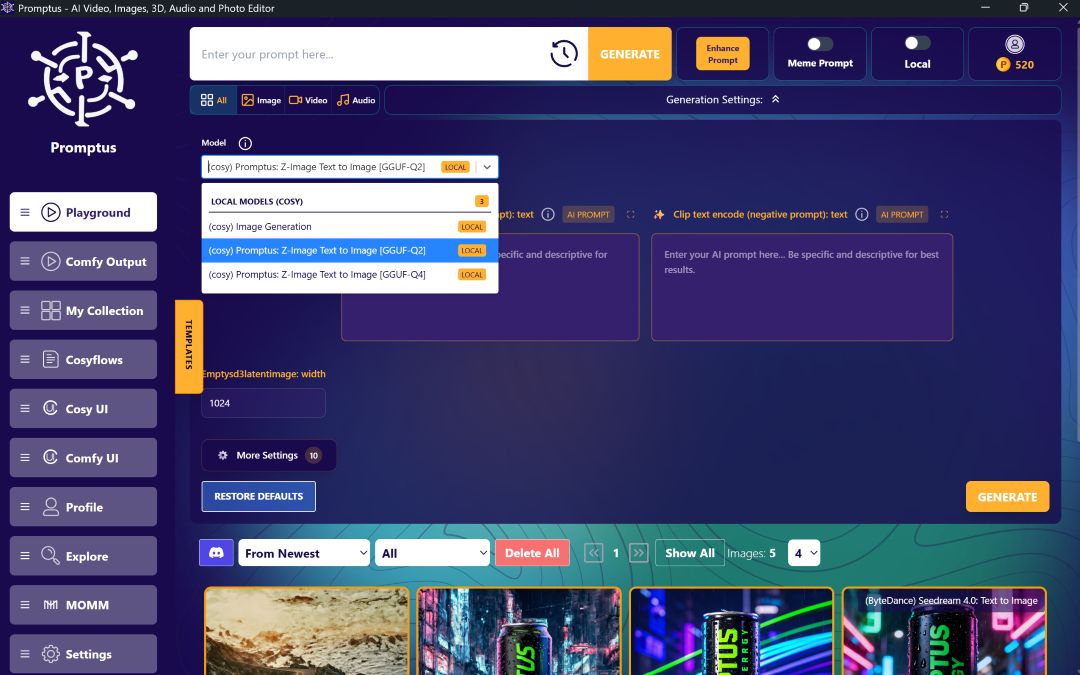
The WAN model offering professional-grade video generation capabilities through Promptus Studio Comfy (PSC) accessible interface.
This Promptus Studio Comfy WAN 2.1 tutorial will guide you through generating videos from text prompts, images, and controlling videos with reference footage.
Learn how to set up the latest WAN 2.1 model for professional video generation results.
⚙️ Initial Setup and Installation
First, ensure your ComfyUI installation is current. Navigate to the manager and select update all. If this method fails, locate your ComfyUI installation directory, find the update folder, and execute the update ComfyUI BAT file.
After opening ComfyUI, run update all once more to refresh all nodes. Allow the installation to complete and restart when prompted.
Three workflow options are available for download from Discord at no cost. Check the description for detailed information.
%20(3).avif)
📦 Required Nodes and Models
For nodes, you need only the Guff node. If not already installed, access the manager, open custom nodes manager, search for Guff, and install it. Restart ComfyUI afterward.
Model selection is crucial since generation speed is extremely slow. A Q4 version works well for balanced performance. Larger models require significantly more processing time - minutes rather than seconds, even on high-end hardware like RTX 4090. Available model sizes include Q8 for better quality, Q3 for minimal VRAM requirements, or version 16 for maximum quality with premium video cards.
Place downloaded models in the diffusion models folder. Additionally, download the FPScaled clip model version, distinct from flux models, and place it in the text encoders folder. A larger FP16 version is available for enhanced quality. Finally, download the VAE file and place it in the VAE folder.
After completing downloads, select edit and refresh node definitions so ComfyUI detects new models.
🎞️ Text to Video Workflow Setup
The workflow requires several components: positive and negative prompts, one vase to video node, case sampler, trim video latent node for frame trimming, create video node, and save video node. Videos save automatically to a created video folder, though this location is customizable.
Recommended settings include width, height, and length configurations that work well with default dimensions. Avoid exceeding 1280 pixels, as larger sizes require 40+ minutes per video. Adjust dimensions using multiples of 32.
The workflow uses 16 frames per second. For duration calculations, multiply desired seconds by 16 frames per second, then add one extra frame. For example: 3 seconds × 16 fps + 1 = 49 frames total.
Use ChatGPT to generate effective prompts by describing your vision and requesting AI video model prompts. Most prompts work without special formatting.
🖼️ Image to Video Conversion
Converting text-to-video workflows to image-to-video is straightforward. Double-click the canvas and add a load image node. Upload your reference image, then use ChatGPT to generate appropriate video prompts based on the image content.
Connect the image output to the reference image input. Ensure dimensions match your uploaded image's aspect ratio before running the workflow.
Generation typically takes 6-7 minutes per video. Different models may perform faster on various systems despite size differences due to optimization variations. Generally, smaller Q versions process faster but sacrifice quality.
▶️ Video to Video Workflow
This workflow requires an additional aux node. Install through the manager if not present, then restart ComfyUI. The setup resembles image-to-video workflows but uses reference video for motion control.
Include a pre-processor node similar to ControlNet options like canny, depth, or pose, connecting to the control video. The system follows reference video motion without requiring actual ControlNet models.
⚡ Speed Optimization with Laura
Install the RG3 node for Power Laura loader functionality. Download the recommended Laura file and place it in the Loras folder. Refresh node definitions and load Laura with 0.25 strength settings.
Position the Laura node after model loading but before sampling. Connect the clip to this node before positive and negative prompts.
Critical settings include 4-6 steps instead of the usual 20, CFG of 6, Euler ancestral, and beta scheduler. Laura significantly increases generation speed but may alter colors and add contrast.
🎨 Color Correction Solution
Install the easy use node package if unavailable. Add the color match node after VAE decode using the original image as reference and decoded frames as target. This correction addresses Laura's contrast issues while maintaining speed benefits.
📊 Quality Comparison
The WAN model produces competitive results compared to paid alternatives like Kling AI, offering professional-grade video generation capabilities through Promptus Studio Comfy accessible interface.
📣 Call to Action
Level up your team's AI usage—collaborate with Promptus. Be a creator at https://www.promptus.ai 🎉 Enjoy your journey with WAN 2.1 video generation in PSC!
%20(2).avif)
%20transparent.avif)


