ComfyUI for Beginners: Guide to AI Image Generation Workflows
Welcome to ComfyUI, the powerful visual interface for AI image generation! If you're new to this tool and wondering where to start, this comprehensive guide will walk you through everything you need to know to create your first AI-generated images.
Getting Started with ComfyUI
When you first open ComfyUI, you might see an empty workspace or a basic workflow. Don't worry if it looks overwhelming at first - every expert started exactly where you are now.
The interface includes several key areas:
- Workflow menu for opening and saving projects
- Templates section with pre-built workflows
- Queue panel for managing generations
- Node library containing all available tools
Installing Your First Custom Workflow
Most users will want to install custom workflows from online sources. Here's how:
1. Download a JSON workflow file
2. Drag and drop it directly into your workspace
3. If you see error messages about missing nodes, don't panic - this is normal
4. Open the Manager (your best friend in ComfyUI)
5. Click "Install Missing Custom Nodes"
6. Select all missing nodes and install them
7. Restart ComfyUI and refresh your browser
Updating ComfyUI and Managing Models
Keep your installation current by:
- Using the Manager to update ComfyUI and custom nodes
- Installing models through the Model Manager
- Searching for specific models like ControlNet variants
- Maintaining your workflow library
Understanding ComfyUI Fundamentals
What is a Node?
A node is essentially a feature or function in ComfyUI. Think of each node as a specialized tool:
- Load Image nodes bring images into your workflow
- Text nodes contain your prompts
- Model nodes load AI models
- Processing nodes transform data
Each node has inputs (left side) and outputs (right side), creating a left-to-right data flow.
Color-Coded Connections
ComfyUI uses colors to represent different data types:
- Yellow: CLIP (text processing)
- Red: VAE (image encoding/decoding)
- Blue: RGB images (what we can see)
- Pink: Latent space data (AI universe)
- Orange: Conditioning (processed text)
- Green: Simple text strings
- Purple: AI models
- Teal: Control nets
Understanding AI Image Generation Theory
Think of AI image generation as working between two universes:
1. RGB Universe: Where we can see and understand images
2. Latent Space (AI Universe): Where the AI processes data
The process flows like this:
- Start with text or an image in the RGB universe
- Send it through a VAE encoder to the latent space
- AI processes and modifies the data using noise
- Send the result back through VAE decoder to RGB universe
- View your generated image
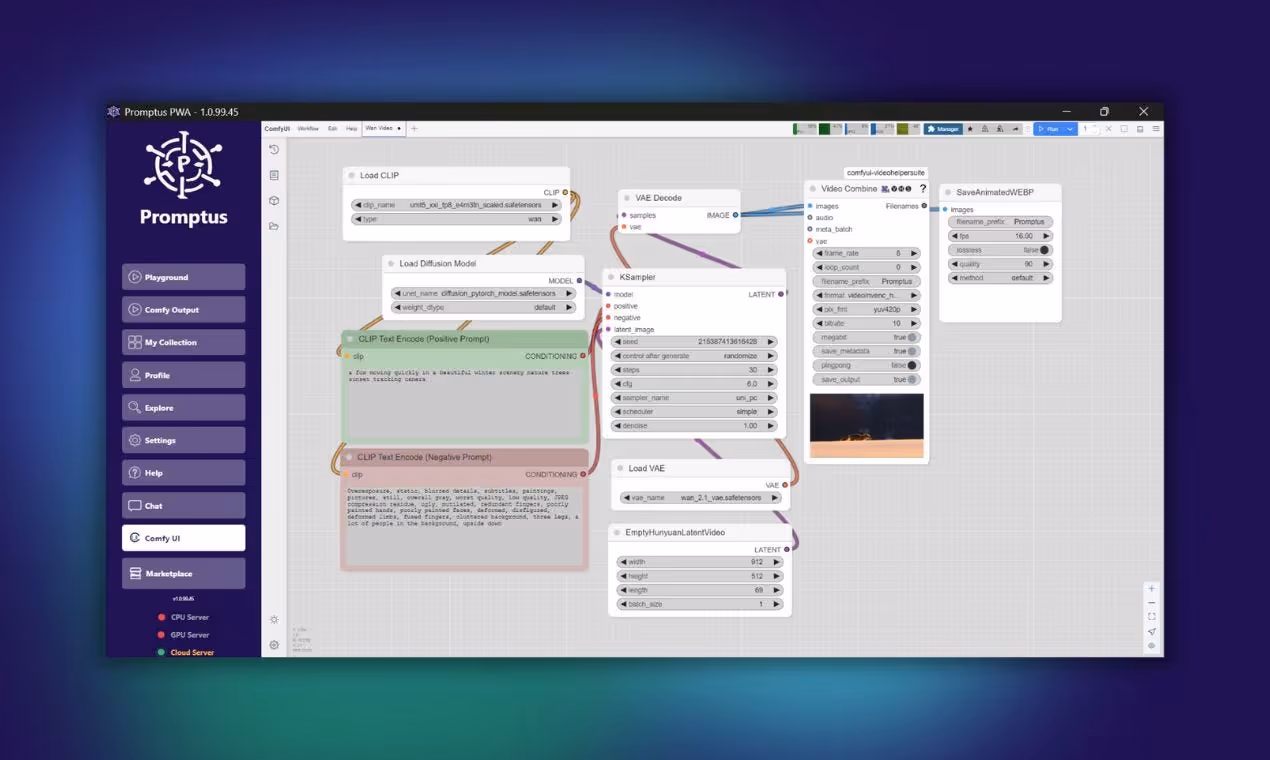
Your First Text-to-Image Workflow
A basic workflow includes these essential components:
1. Load Diffusion Model: Loads your AI model
2. CLIP Text Encode: Converts your prompt to AI language
3. Empty Latent Image: Creates your canvas (set to 1024x1024 for most models)
4. KSampler: The core AI generator
5. VAE Decode: Converts back to viewable image
6. Save Image: Outputs your final result
Understanding the KSampler
The KSampler is your AI image generator. Key settings include:
Seed
- Controls the random starting point
- Use "randomize" for variety
- Use "fixed" to reproduce specific results
Steps
- How many refinement passes the AI makes
- Start with 20-30 steps for most models
- More steps = more refinement but longer generation time
CFG (Classifier Free Guidance)
- How closely the AI follows your prompt
- Lower values (3-5) = more creative freedom
- Higher values (7-10) = stricter prompt adherence
- Flux models use CFG of 1 with separate guidance
Sampler and Scheduler
- Different algorithms for image generation
- Euler and Euler Ancestral are reliable choices
- Use recommended settings from model creators
Image-to-Image Workflows
Transform existing images using the denoise parameter:
- 0.0 = no changes (keeps original image)
- 0.5 = 50% original, 50% new generation
- 1.0 = completely new image
- Start with 0.6-0.7 for good balance
Choosing the Right AI Model
Popular models for beginners:
- Flux: Excellent quality, requires specific settings
- Stable Diffusion XL: Versatile and well-supported
- Stable Diffusion 1.5: Older but extensive community resources
Check current model rankings on Hugging Face leaderboards for the latest recommendations.
Best Practices for Image Sizes
Use native resolutions for your chosen model:
- Modern models (Flux, SDXL): 1024x1024 pixels
- Older models (SD 1.5): 512x512 pixels
- Maintain proper aspect ratios for best results
Navigation and Interface Tips
Master these essential controls:
- Mouse wheel: Zoom in/out
- Space + drag: Pan around workspace
- Fit View: Return to full workflow view
- Toggle Link Visibility: Show/hide connections
- Right-click: Access node menu
- Double-click empty space: Add new nodes
Troubleshooting Common Issues
When workflows break:
1. Check for disconnected nodes
2. Verify all required models are installed
3. Use Manager to install missing custom nodes
4. Update ComfyUI if workflows use newer features
5. Check model compatibility with your workflow
Building Your Skills
Start with simple text-to-image workflows and gradually explore:
- Image-to-image transformations
- ControlNet for pose and structure control
- Advanced sampling techniques
- Custom node combinations
- Workflow optimization
ComfyUI offers endless possibilities for AI image generation. The key is starting simple and building your understanding gradually. Each workflow you create teaches you more about how the nodes connect and interact.
Remember that ComfyUI is free to use but requires powerful hardware. If you don't have a suitable GPU, consider cloud solutions to get started.
