El mejor flujo de trabajo para imágenes de estilo anime
%20(2).avif)
%20transparent.avif)

Flujo de trabajo paso a paso para imágenes de estilo anime
La creación de obras de arte cautivadoras de estilo anime requiere una combinación cuidadosa de arte, estructura y tecnología. Tanto si eres un ilustrador digital como un entusiasta del arte con inteligencia artificial, el flujo de trabajo adecuado marca la diferencia entre una imagen plana y una que parezca viva.
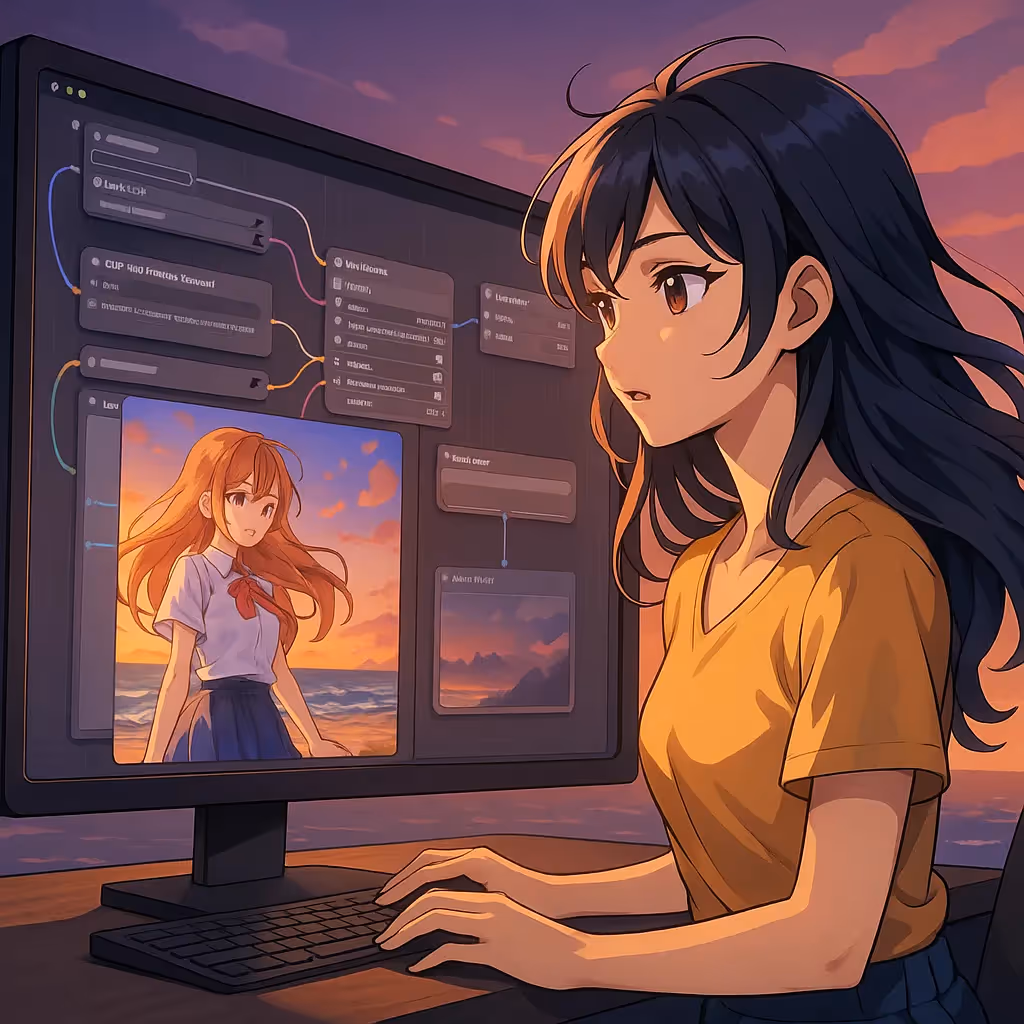
En este flujo de trabajo de anime usando Difusión estable modelos como Animagina XL y complete el flujo de trabajo de imágenes de estilo anime, desde el concepto hasta el renderizado final, y muestre cómo Promptus y sus micrositios dedicados pueden mejorar su proceso creativo.
🎯 Micrositios y herramientas
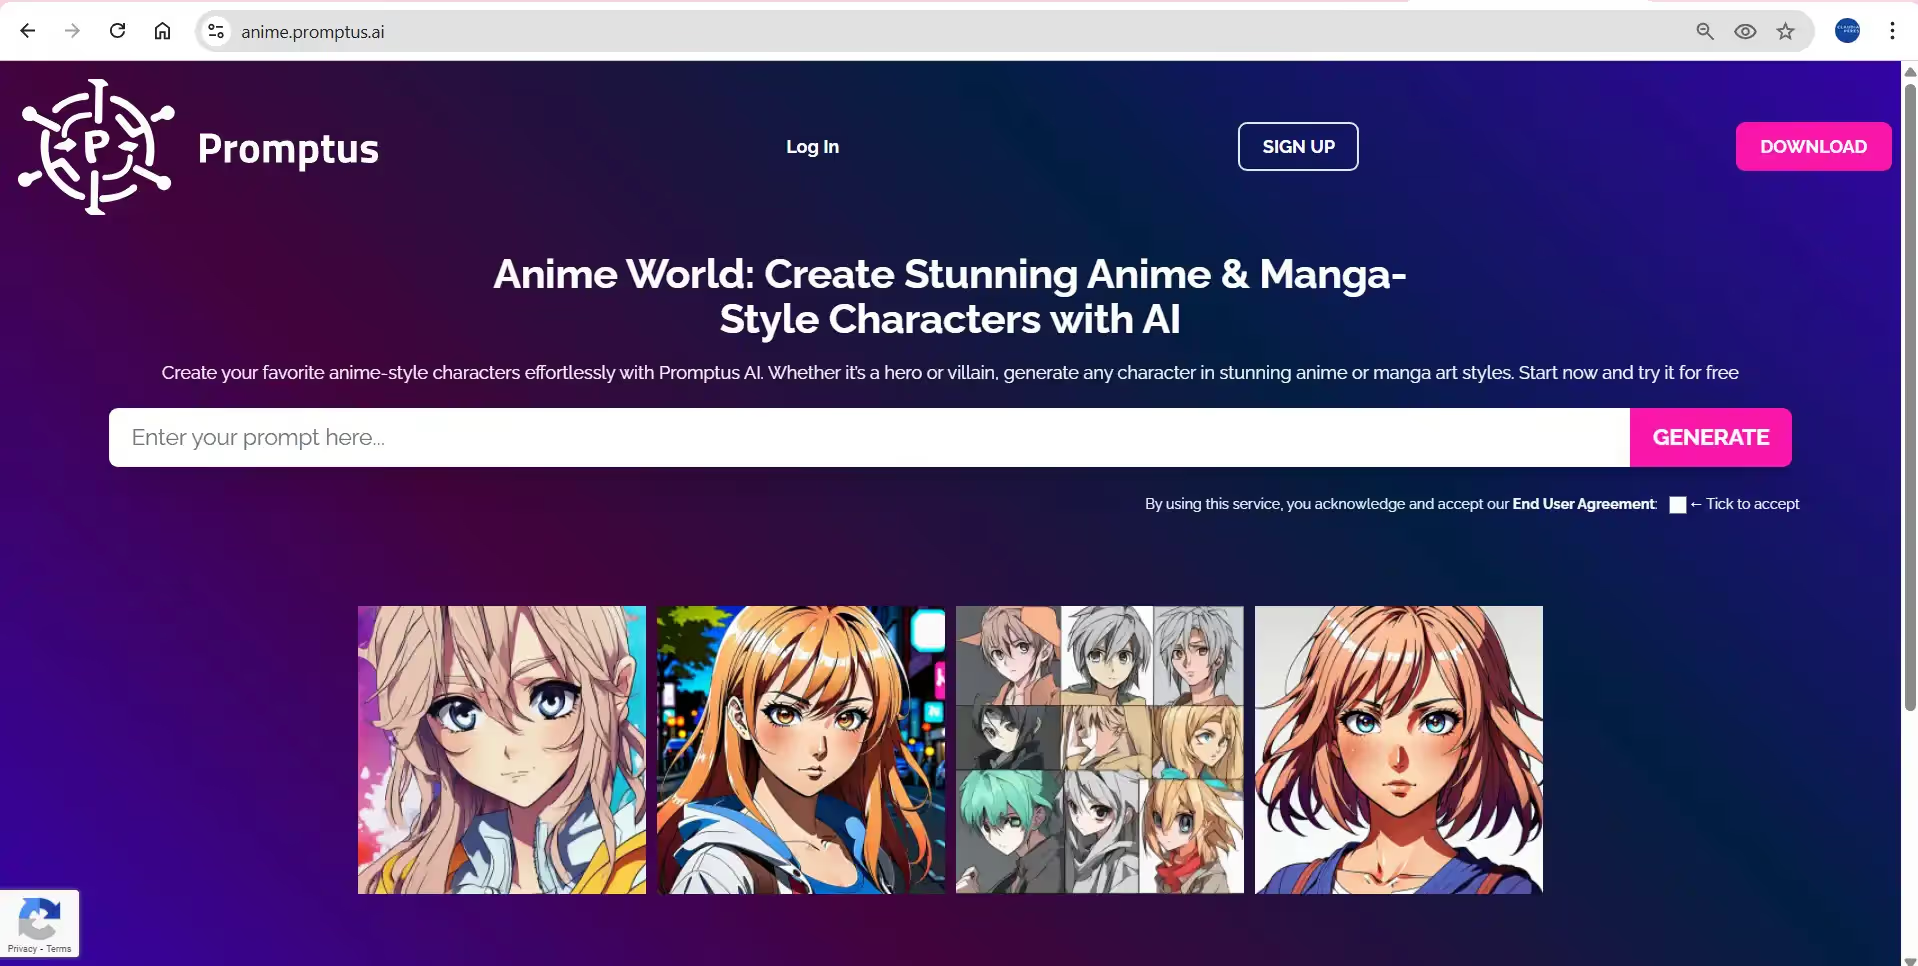
- El micrositio dedicado al anime: anime.promptus.ai — Está diseñado para generar personajes de estilo anime/manga con Promptus.
- Un micrositio específico para un modelo: animagine-xl.promptus.ai — Centrado en el modelo «Animagine XL» para obtener resultados de estilo anime de alta calidad.
- Sitio de estilo anime clásico: duchaiten.promptus.ai — Para una estética nostálgica del «anime clásico».
Esto le permite elegir un estilo/modelo rápidamente y enfocar su mensaje y flujo de trabajo en consecuencia.
✏️ Flujo de trabajo: del concepto al resultado
1. Concepto y planificación
Empieza por definir tu personaje, escena, estado de ánimo y ángulo de cámara. Si tu objetivo es un Estética del anime japonés, considera elementos como:
- Ojos grandes y expresivos, líneas simples pero limpias.
- Colores planos con fuertes contrastes de iluminación/sombra.
- Composición influenciada por el anime japonés (por ejemplo, poses dinámicas, silueta fuerte).
- Señales de estilo: mira el anime clásico y moderno como referencia.
Usa el sitio anime.promptus.ai para generar rápidamente exploraciones de diseño de personajes: introduce un mensaje como «chica de anime, ojos grandes, uniforme escolar, fondo primaveral brillante, sombreado celular» y mira lo que obtienes.
2. Selección de modelos y micrositios
Elige tu base:
- Si quieres un estilo anime moderno de alta fidelidad: usa Animagine XL a través de animagine-xl.promptus.ai.
- Si prefieres el anime japonés nostálgico de los años 80 y 90: usa el modelo DuChaiten Classic Anime en duchaiten.promptus.ai.
- Usa anime.promptus.ai para generar estilos anime/manga más generales.
La selección temprana del modelo o estilo correcto significa que su flujo de trabajo posterior tendrá menos desajustes.
3. Etiquetas rápidas de creación y estilo
Las buenas indicaciones importan:
- Empieza con algo como: «(obra maestra, de la mejor calidad), chica de anime, pelo corto rosado, uniforme escolar, fondo de flores de cerezo, sombreado celular, estilo anime japonés, 4K».
- Añada modificadores de estilo: «dibujos lineales nítidos, contornos llamativos, colores vibrantes, iluminación espectacular, iluminación de 3 puntos».
- Usa indicaciones negativas para evitar problemas: «borroso, extremidades adicionales, mala anatomía, sobresaturado».
Haciendo referencia a una estética japonesa, puedes incluir etiquetas como «estilo anime shōjo», «anime1880s cel shading», «paisaje urbano de Japón al anochecer» o «expresión kawaii».
Consulta también las guías sobre cómo crear instrucciones de estilo anime (por ejemplo, para Stable Diffusion) que muestran técnicas como el uso de etiquetas al estilo Danbooru.
4. Generación inicial e iteración
Utilice el micrositio/modelo seleccionado para generar los resultados iniciales.
- Genera múltiples variaciones (tuplas de indicaciones) para explorar las poses, los fondos y la iluminación.
- Resultados de la revisión: compruebe la anatomía, la expresión facial, la claridad de las líneas y la paleta de colores.
- Si encuentra uno que sea prometedor, anote su semilla o indicaciones.
- Usa las funciones internas de flujo de trabajo y control de versiones de Promptus para no perder la noción de lo que funcionó.
5. Refinamiento y detalle
Una vez que tengas una buena base, refina:
- Utilice un escalado de mayor resolución si es necesario (muchas herramientas admiten 2 ×, 4 ×).
- Limpia los artefactos manualmente si es necesario (en una herramienta como Clip Studio Paint, Photoshop u otra).
- Mejore el arte lineal, añada reflejos (cabello, ojos) y ajuste el color y la iluminación.
- Para un estilo japonés, puedes enfatizar el brillo de los ojos, el brillo del cabello, la iluminación de los bordes y un fondo más simple para que el personaje destaque.
6. Consideraciones sobre los antecedentes y la composición
Para el estilo anime japonés (especialmente el arte centrado en los personajes):
- Fondos a menudo más simples, por ejemplo, cielos degradados, iluminación tenue, bokeh claro.
- Pero para escenas dinámicas (batallas, paisajes urbanos), puedes añadir profundidad: elementos de primer plano, desenfoque de movimiento y ángulos de cámara cinematográficos.
- Mantén la silueta del personaje nítida y el contraste de colores equilibrado.
7. Salida final y preparación
- Exporte a la resolución deseada (para la web, la impresión, las redes sociales).
- Ajuste los perfiles de color (sRGB para la web, CMYK si se imprime).
- Usa una capa final de calidad de color o textura si es necesario para lograr una sensación atmosférica.
- Guarda todas tus versiones: mensaje base, semilla, modelo y cualquier modificación. Promptus permite guardar y reutilizar el flujo de trabajo.
✅ Por qué funciona este flujo de trabajo
- Empiezas con claro decisiones de estilo (Señales de anime japonés, elección de modelos a través de micrositios).
- Tú usas indicaciones iterativas y control de versiones (a través de Promptus) para no perder buenos resultados.
- Puedes refinar y pulir manualmente si es necesario, combinando la velocidad de la IA con el control artístico.
- Mantienes un estética consistente eligiendo el modelo y las etiquetas de estilo correctos con antelación.


