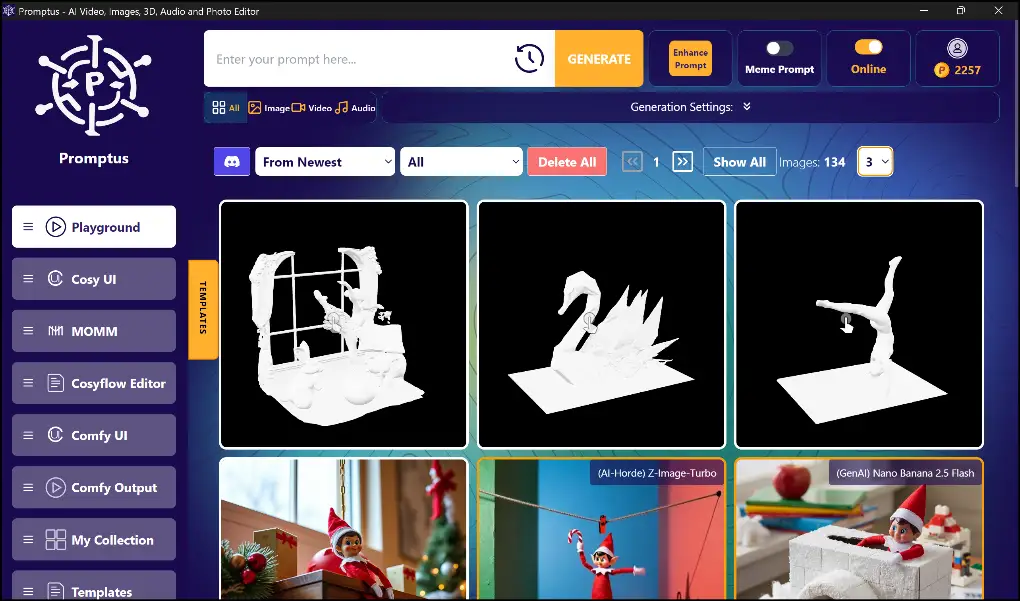
ComfyUI Setup Guide for AI Image Generation

ComfyUI has revolutionized how creators build AI art workflows — and with Promptus CosyFlows, it’s easier than ever to install, automate, and scale your image generation.
Whether you’re just starting with AI image generation or moving beyond local setups, this guide will help you install ComfyUI, connect it with CosyFlows, and start creating stunning visuals effortlessly.
💾 Download and Install ComfyUI
Start by downloading Promptus with ComfyUI
🔗 ComfyUI on Promptus
💡 CosyFlows Tip: Promptus automatically detects your GPU setup and lets you run ComfyUI workflows locally or on the cloud — no manual switching required.
💡 CosyFlows Integration: Once models are linked, you can sync them to Promptus and reuse them across workflows — saving time and space.
🧩 Exploring the Node Interface
ComfyUI’s visual workflow is at the heart of CosyFlows.
Each node represents a step in your image generation process:
- 🧱 Load Checkpoint — choose your AI model
- 🗒️ CLIP Text Encode — process your prompt
- 🔄 KSampler — generate the image
- 🖼️ VAE Decode — turn data into pixels
🧠 With CosyFlows, these nodes can be saved, shared, and reused inside Promptus’ team workspace, so creators can collaborate or remix workflows instantly.
⚙️ Tuning Your Generation Settings
In the KSampler node, adjust how your images are created:
- 🎲 Seed: Fix or randomize your output.
- 🧮 Steps: More steps = sharper quality, slower results.
- 🎯 CFG Scale: Controls prompt strength (best range: 4–7).
- 🧪 Sampler: Use DPM++ 2M Karras for reliable results with Stable Diffusion 1.5/2.0.
💡 CosyFlows Advantage: Save your generation settings once and apply them to any model instantly — perfect for batch image generation or team templates.
🔗 Working with Shared Workflows
One of ComfyUI’s best features is workflow sharing — and CosyFlows supercharges it.
When someone shares a workflow or image, you can:
- Drag it directly into ComfyUI or import it into Promptus.
- CosyFlows automatically detects missing nodes and installs them for you.
✨ No more manual setup. CosyFlows syncs dependencies and keeps all your workflows cloud-ready.
🧩 Installing Custom Nodes and Extensions
Want to extend ComfyUI?
Install the ComfyUI Manager for easy custom node management:
- Download from GitHub.
- Place it in
ComfyUI/custom_nodes. - Restart ComfyUI.
In Promptus CosyFlows, this process is simplified — you can browse, install, and update custom nodes right from the web dashboard.
💡 Example: Need a new upscaler or LoRA loader? CosyFlows installs it with one click, then syncs it across your team’s workspace.
⚡ Advanced Workflow Examples
Inside ComfyUI’s GitHub (and within Promptus’ workflow library), you’ll find powerful templates like:
- 🎭 Inpainting: Edit image regions with masks.
- 🧬 LoRA workflows: Add style layers or model adapters.
- 🧱 Multi-stage pipelines: Combine models for cinematic results.
📦 In CosyFlows, you can remix these directly — drag, modify, and save them as reusable workflow components.
🖼️ Generate Your First AI Image
You’re ready to create! 🚀
- Load a base workflow (or import from CosyFlows).
- Pick your model.
- Add your positive and negative prompts.
- Set resolution (start with 512x512).
- Click “Queue Prompt” — and watch the nodes light up! 🌈
Once complete, your image will appear in the Save Image node — and automatically sync to your Promptus gallery if connected.
🏁 Conclusion
With ComfyUI + Promptus CosyFlows, you get the best of both worlds:
- Local power with your GPU
- Cloud scalability with zero setup
- Team sharing and one-click automation
Whether you’re an AI hobbyist or a creative professional, CosyFlows turns ComfyUI into a streamlined, collaborative AI studio.
.avif)