Transform Black and White Videos with AI Video Colorization
Modern AI tools have revolutionized image restoration and video colorization, making it possible to breathe new life into old footage.
This article shows how to automatically colorize black-and-white videos using ChatGPT and ComfyUI, delivering professional results faster than traditional methods.
Understanding AI Video Colorization Process 🎬
The workflow involves two key steps:
- Colorize a Reference Frame: Automatically colorize one frame.
- Apply to Full Video: Use that frame as a template to process the entire sequence consistently.
Step 1: Extract And Prepare Your Reference Frame 📸
- Export one clear frame from your black-and-white video (subject should be visible).
- In Premiere Pro or similar: click the camera icon, choose save location, and export.
Step 2: Colorize Your Reference Frame Using Multiple Methods 🎨
Photoshop Neural Filters Method
- Open the frame in Photoshop → Filter → Neural Filters → enable Colorize.
- Photoshop often yields realistic vegetation and skin tones; adjust saturation and colors as needed.
ChatGPT Colorization Method
- Upload the B&W image to ChatGPT with prompt “colorize this image.”
- AI returns a colorized version quickly. Watch for cropping/aspect ratio changes, but color choices are often superior.
Step 3: Set Up ComfyUI For Video Processing ⚙️
- Install ComfyUI per official docs.
- Launch via the BAT/script to open the interface in your browser.
- Update components via Manager to ensure optimal performance.
- Download the video colorization workflow from its repo; drag the workflow file into ComfyUI to load it.
- Install any missing custom nodes through the Manager.
Step 4: Configure Video Colorization Settings 🎥
- Load Video: Use designated input node to import your black-and-white video.
- Upload Reference Frame: Provide the colorized image to guide processing.
- Frame Load Cap: Set to zero for full video or specify a subset for testing.
- Optimal Settings:
- “Use half resolution”: false (for best quality)
- Match original frame rate
- Lower CRF to ~12 for higher output quality
- Keep other defaults unless specific needs arise
Step 5: Process Your Video ▶️
- Click Run to begin. ComfyUI applies colors from the reference frame uniformly across frames.
- Processing time depends on GPU specs and VRAM.
- Output appears in ComfyUI’s output folder, often as separate files (with/without audio).
Step 6: Enhance Video Quality With AI Upscaling 🚀
- Import colorized video into Topaz Video AI (or similar).
- Software suggests optimal settings; choose upscaling multiplier and matching frame rate.
- For maximum detail, use advanced AI models (e.g., Rhea) for edge and detail restoration.
- Higher-quality settings increase processing time but yield superior results.
Troubleshooting Common Issues ⚠️
- Missing Nodes: Clone required extensions manually: navigate to ComfyUI’s custom nodes folder and use
git clonewith provided repo URLs. - GPU Memory Limits: Enable half-resolution processing or reduce batch sizes to avoid crashes.
- Workflow Errors: Restart ComfyUI after installing nodes or updating workflows. Test on a few frames before full run.
Advanced Techniques And Optimization 🔧
- Multiple Reference Frames: Experiment with different frames to achieve varied color styles. For long videos, guide sections with different references for historical accuracy.
- Combine Models: Use ChatGPT for initial color, refine in Photoshop, then process through ComfyUI for consistent application.
- Prompt Refinement: If using AI-driven color hints in ComfyUI nodes, craft prompts describing desired color palettes or moods.
- Batch Testing: Process short clips first to gauge color consistency before full-length runs.
Using Promptus For Simplified Workflows 🌐
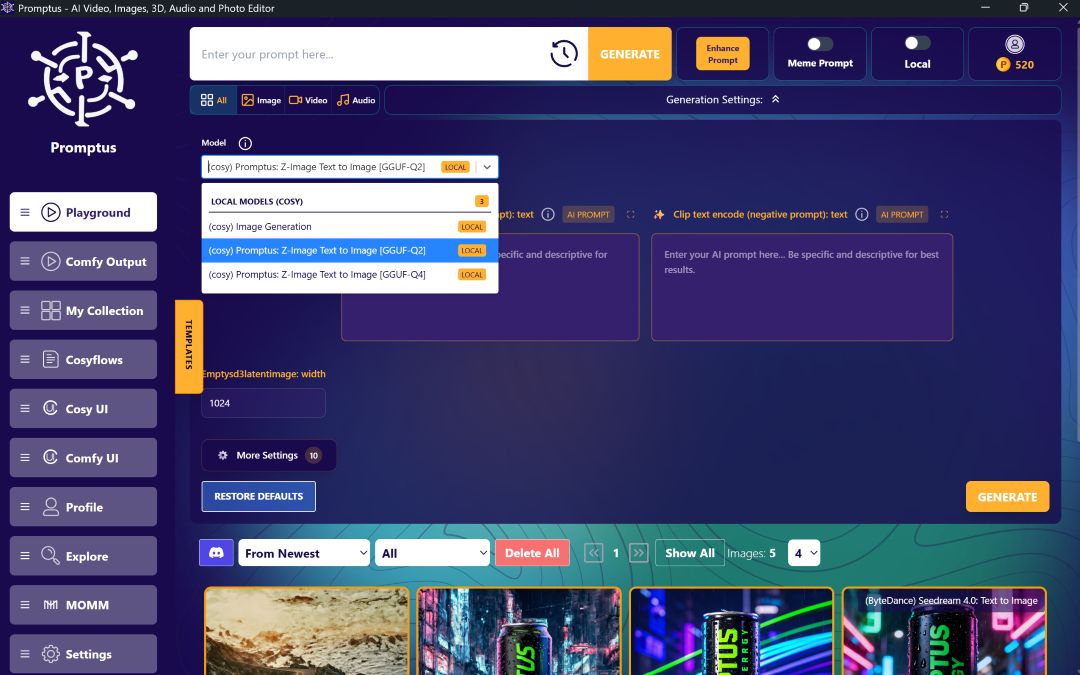
Promptus offers a browser-based, cloud-powered interface wrapping ComfyUI with no-code workflows, real-time collaboration, and built-in access to advanced models.
- CosyFlows Interface: Drag-and-drop setup for video colorization pipelines without manual node wiring.
- Cloud GPU Compute: Offload heavy processing for faster results and to avoid local hardware limits.
- Collaboration & Publishing: Share workflows with team members, integrate via Discord, and publish for community use.
- Model Access: Seamless integration with up-to-date vision and enhancement models.
- Getting Started: Sign up at https://www.promptus.ai and choose browser-based access or desktop app.
Conclusion 🎯
AI-powered video colorization transforms restoration workflows, reducing manual labor and improving quality. By colorizing a reference frame (via ChatGPT, Photoshop, or similar) and processing the full video in ComfyUI, you achieve consistent, high-quality results. Enhance further with AI upscaling tools. For streamlined, no-code implementation and cloud resources, use Promptus to simplify complex workflows and collaborate seamlessly. Happy colorizing! 🌈🎬
%20(2).avif)
%20transparent.avif)


