.avif)
How To Use LatentSync For Professional Lip Sync On Low VRAM Systems With ComfyUI
LatentSync is one of the best lip sync tools available today — and now, you can run it smoothly on low VRAM systems using ComfyUI. This powerful tool generates realistic lip movements without needing masks, making it perfect for creators seeking professional-quality sync without requiring high-end GPUs.
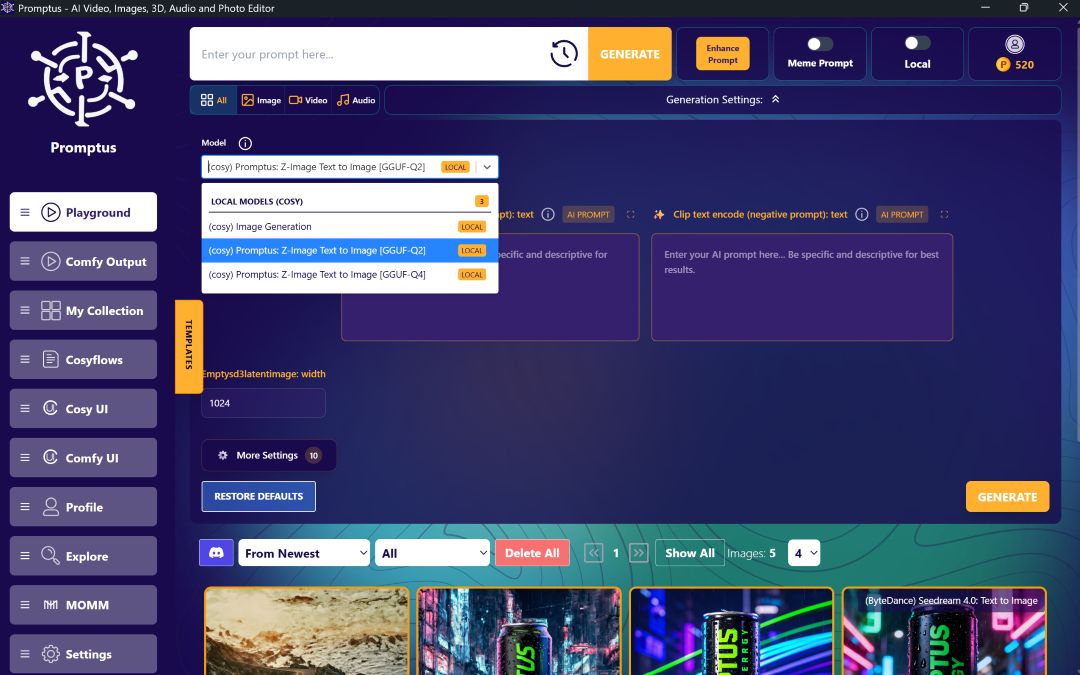
💻 What Is Promptus Studio Comfy?
While ComfyUI is a robust open-source framework, many users prefer to use it through Promptus Studio Comfy (PSC) — a browser-based, cloud-powered visual AI platform built on ComfyUI.
Key Features of Promptus Studio Comfy:
- 🔧 No-code workflow builder via CosyFlows
- 🔗 Real-time collaboration
- 🧠 Built-in access to Gemini Flash, HiDream, Hunyuan3D
- 💬 Discord integration
- 📦 Workflow publishing
- 🖼️ Multi-modal generation (text, image, video)
- ⚡ Distributed GPU compute for fast, high-res outputs
🔧 Installing LatentSync on ComfyUI
Step-by-Step Setup:
- Open your ComfyUI folder → go to the custom nodes subfolder.
- Type
cmdin the path bar to open a command window. - Go to the LatentSync GitHub repo and copy the code URL.
- Run the following command in CMD:
git clone <LatentSync-URL>
cd LatentSync
- Open the
requirements.txtfile and remove thetorch/pytorchlines (ComfyUI already includes them). - Save the file and run:
pip install -r requirements.txt
📦 Installing Additional Dependencies
- Still in the
custom nodesfolder, open a new command window. - Go to the aceNodes GitHub repo, copy the code URL.
- In CMD, run:
git clone <aceNodes-URL>
cd aceNodes
- Again, open
requirements.txt, remove torch, save, and run:
pip install -r requirements.txt
⚡ Using LatentSync with ComfyUI
Once installed:
- Run ComfyUI from your main folder.
- Download the LatentSync workflow and load it into your canvas.
- Upload:
- 🗣️ An audio file (
.wav) - 🎥 A video file (
.mp4)
- 🗣️ An audio file (
- Make sure both files are the same length.
- Hit queue to begin the sync process.
⚠️ The first run may auto-download required models.
☁️ Running LatentSync on Kaggle (Cloud GPU)
Cloud Setup Instructions:
- Open the official Kaggle notebook and click "Edit My Copy".
- In the Kaggle runtime settings:
- Enable GPU
- Turn on Internet
- Set Persistence to:
Files and Variables
- Start the session, then:
- ▶️ Run the first cell (for installation)
- ▶️ Then run the Pingy cell
- Click on the Pingy local URL to launch ComfyUI in your browser
- Load your workflow, upload audio/video files, and hit generate!
🌟 Conclusion
LatentSync is a game-changer for lip sync AI — especially for creators with low VRAM systems. Whether you're running it locally or in the cloud (via Kaggle), it delivers smooth, natural, high-quality lip sync video generation.
🚀 For a Streamlined Experience: Try Promptus
Promptus Studio Comfy combines:
- 🧩 ComfyUI’s power
- 🖱️ Drag-and-drop usability
- ⚡ High-speed GPU rendering
- 🌐 Web + Desktop support
➤ Sign up today at: https://www.promptus.ai
Start creating expressive, synced videos without technical hassle — ideal for:
- 🎬 Branded content
- 🎨 Animated stories
- 🧙 Concept art pipelines
Let creativity lead, and let the AI do the heavy lifting. 💡
%20(2).avif)
%20transparent.avif)


